THE BLONDE WHO BAKES
  • HOME
  • SHOP
  • MENU
  • CATERING
  • CLASSES
  • RECIPES
  • Hi, Im Whitney
  • CONTACT US

NUTTERBUTTER CAKE

4/3/2023

0 Comments

 
Picture
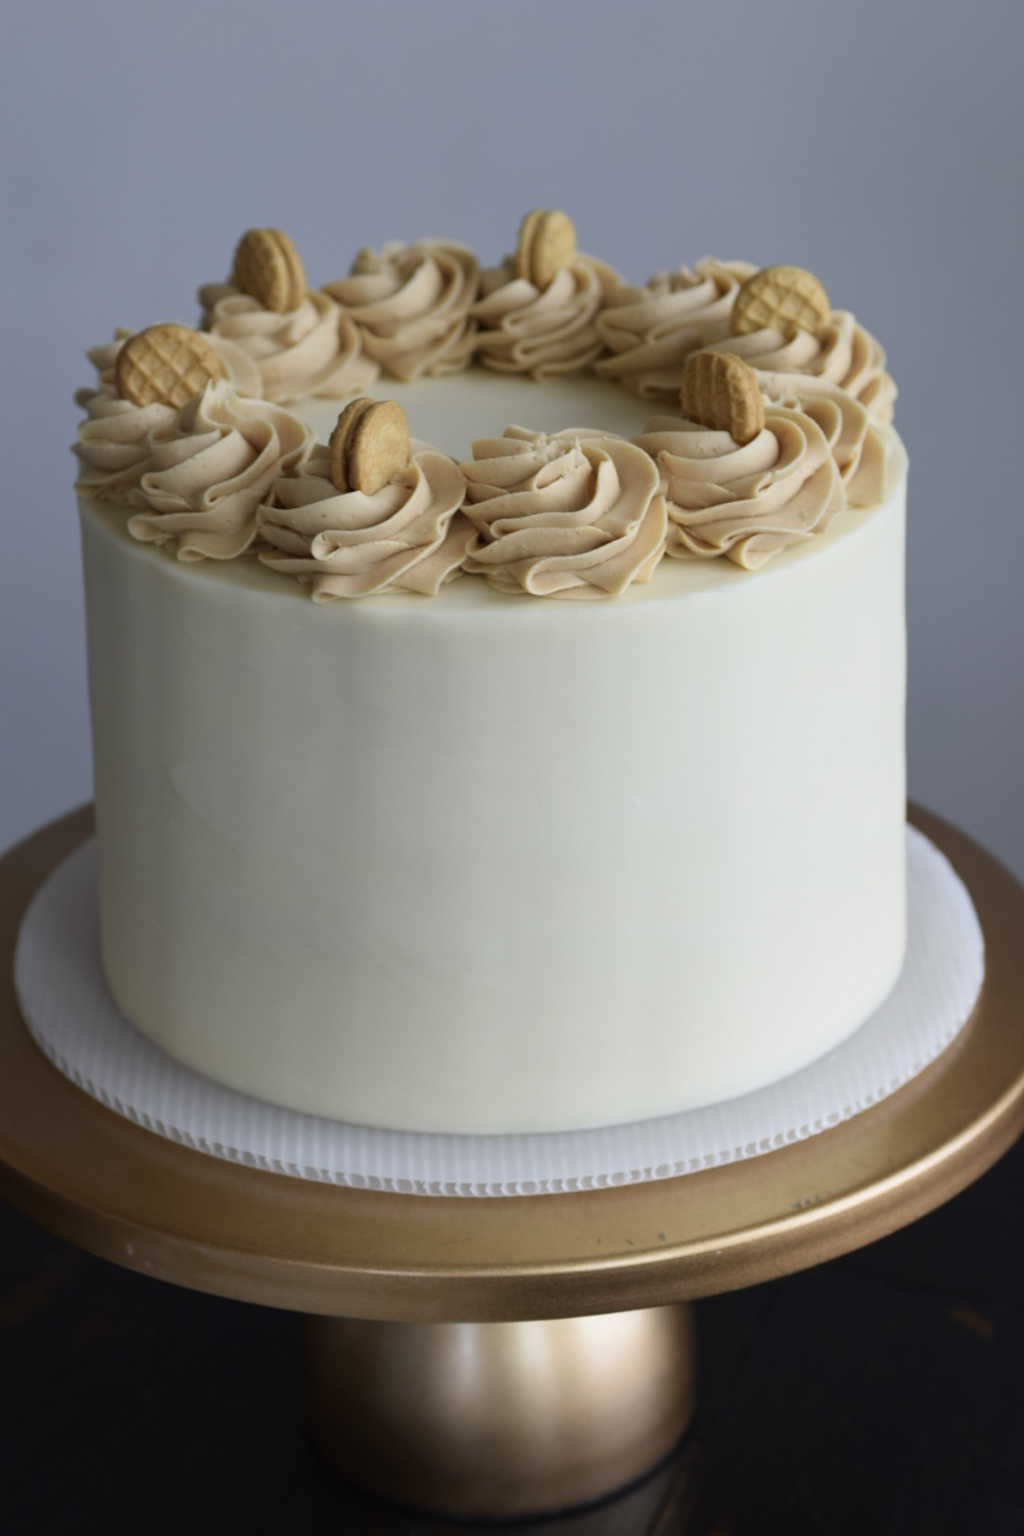
This cake was inspired by the one and only "Nutterbutter" Cookies. Those cookies were one of my favorite treats growing up, and I was really craving something along those lines this weekend. So I decided to take some of my all time favorite cake and frosting flavors and put them together to create something delicious. It turned out so yummy, and so I had to share it with you guys ASAP!
​
Picture

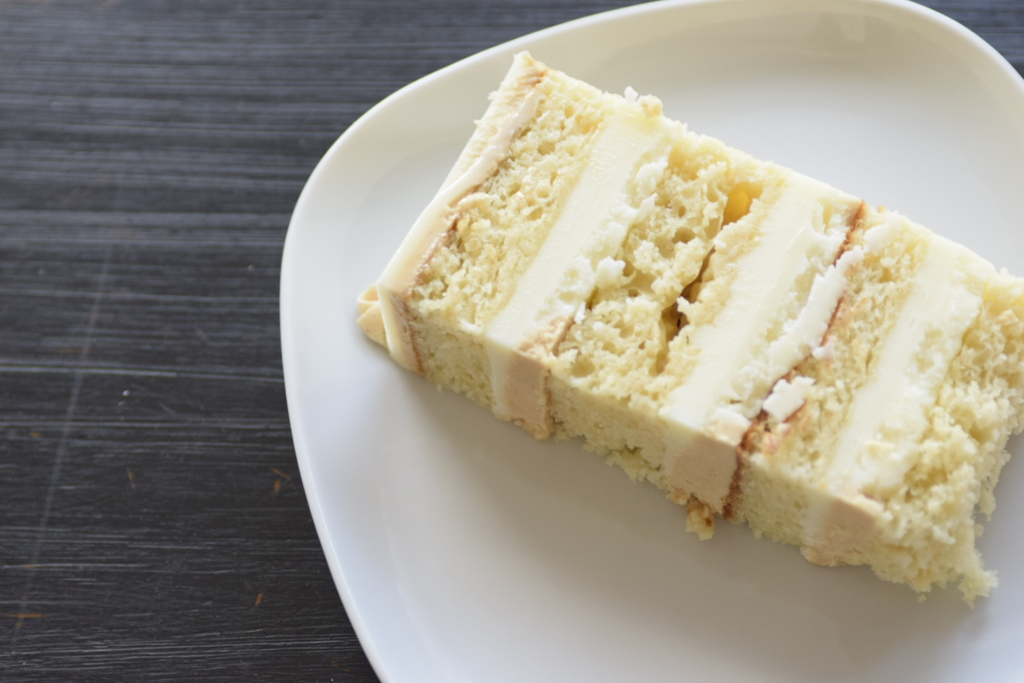
NUTTERBUTTER CAKE RECIPE:
​

Vanilla Cake
By: The Blonde who Bakes

Ingredients:
3 Cups Cake Flour (I used Lehi mills Cake flour)
1 1/2 tsp Baking Powder
1 tsp Salt
1 Cup Butter, room temperature
2 Cups Granulated Sugar
4 Eggs
2 Egg Whites
1/2 Cup Vegetable Oil
1 tbsp Vanilla extract
1/3 Cup Greek Vanilla yogurt or Sour Cream (Not both)
1 Cup Milk


Tools needed:
Electric Mixer or Large Bowls
Whisk
Oven
Baking spray
3 Cake Pans (6” cake pans or 2 - 8” pans)

Baking Instructions:
-Preheat your oven to 325 degrees F.

-Prepare three 6” round cake pans OR two 8” pans with non-stick spray Spray again. Set aside. (I highly recommend the “Bakers Spray” or “PAM Baking Spray with flour”.)

-In a medium sized mixing bowl, whisk together the cake flour, baking powder and salt. Set aside.

-In the bowl of an electric mixer, fitted with the paddle attachment, cream the butter and the sugar for 3 to 5 minutes on medium-high speed.

-The mixture should be light and fluffy. Scrape down the sides of the bowl and begin to add the eggs and egg whites on medium speed, scraping down the sides and bottom of the bowl between addition, continue beating on medium-high speed until the texture is smooth and the volume is nearly doubled, about 3 to 5 minutes.Add the vanilla extract and mix until incorporated.

-Add the the full Measurement of the vegetable oil. Mix well and incorporate.

-Add in the Greek Vanilla yogurt OR sour cream. Mix well.

-Slow the mixer down as much as possible, add then in 1/2 of the of flour mixture,

-Add 1/2 of the milk. Let mix for 40-60 seconds.

-Add in the final measurements of flour and milk. Let mix until fully incorporated. 2-3 minutes. The batter should be smooth.

-Pour cake batter into each of the prepared three 6”cake pans. Or 2 8” pans. Level out all the batter in each pan.

-Place in over to bake at 325°F for 32-36 minutes.

-To check doneness, you can touch the top of the cake very lightly. If it stays firm and holds it shaped, almost bounces back, your cake is done.

-You can also insert a toothpick into the center of the cake. If comes out with a few moist crumbs on it. Let cool in the pans for about 15-20 minutes and then remove from cake plans and place cake on cake board.

-Place cake layers in the freezer for 4-6 hours.

-After cold and solid, it’s time to decorate!
​

WHITE CHOCOLATE GANACHE

INGREDIENTS:

3/4 Cup Heavy Cream
1.5 Cups White Chocolate Chips
1 Tsp Vanilla extract

​
Instructions: 
-Boil the Heavy Cream in a small sauce pan
Once boiling, remove from heat.
-Pour your chocolate over the very hot Heavy Cream,
-Let cream and chocolate sit for 3-5 minutes before mixing.
-Mix until fully incorporated. Your ganache should become thicker the longer it sits and cools. So let it cool completely before using.
Picture

CREAMY PEANUT BUTTER FROSTING

INGREDIENTS:
2 C Soft, Unsalted Butter 
1 1/2 C Creamy Peanut Butter
3 lbs Powdered Sugar 
1 1/2 tsp Vanilla Extract 
1 C - 1 1/2 C Heavy Cream

Instructions: 
  1. In a stand mixer, use your paddle attachment and cream your butter. Mix on medium/high speed for 2-3 minutes. Or until creamy. (Make sure there are no clumps) 
  2. Once creamy, add in peanut butter. Mix until fully incorporated.
  3. Turn mixer down to low speed and add in your vanilla extract
  4. Add in all of your powdered sugar, let mix for about 1 minute. 
  5. Scrape down bowl to make sure everything is incorporated. 
  6. Add in your heavy cream and mix for about 5 minutes or until creamy. (Add cream AS NEEDED. Don’t use all of it if you don’t need it. Too much cream will make your frosting runny) 
  7. Once fully mixed, take off stand mixer and mix your frosting with a wooden spoon and get out any extra air pockets and create a smooth creamy finish. 
Picture

How I assembled the cake:

-For this cake, I started with my frozen vanilla cake layers and filled those cake layers with my creamy peanut butter buttercream and white chocolate ganache. And for every other cake layer I also added some of my Vanilla Buttercream, and filled the center with peanut butter buttercream.
the Vanilla Buttercream is completely optional, but I feel it helped balance out the flavors well.

​-Here is the recipe for my VANILLA BUTTERCREAM just in case you would like to add that to your cake.

-For a bonus topper, you can crush up some “Nutterbutter” cookies and sprinkle those inside some of the cake layers. These cookies will soak into the frosting well, but some will stay crunchy to add a fun crunch to soft cake.

-After filling the cake layers, I crumb coated the cake (first layer of frosting) with the Peanut Butter Frosting

-Once you’ve applied the the first layer of frosting, place in freezer to allow the frosting to set and harden. This should take about 10-15 minutes.
-After this, I applied the rest of the White Chocolate Ganache for the final layer to coat the cake. I topped it with small rosettes made with the peanuts butter buttercream, and placed mini Nutterbutter cookies on every other one.


This was such a fun cake to create. I love my Chocolate Peanut Butter cake, and so switching it up and using the vanilla cake was a good change up. If you are a Peanut Butter fan, this is definitely a cake to try!

If you do end up trying this cake recipe, I would love to hear and see how it went for you! Tag me in your creations @theblondewhobakes on Instagram and TikTok.
0 Comments

    Hi, Im Whitney Berge

    Aka, The Blonde who Bakes,
    I am a wife and mom of 3, and a self- taught baker. I did not attend any formal culinary training, but I believe that nothing compares to learning as you go.
    Being in the kitchen baking is something that has always been special to me, and I knew that I could use my business knowledge as well as my baking experience to bless others with some delicious desserts, but also teach them that they can do it as well.
    About 15 years ago, I made the decision to not continue in my schooling for Sports Medicine and jumped in to selling my cakes and desserts.
    My clientele grew steadily, and I had some very loyal customers. So I made the decision to open up a brick and mortar bakery. 
    a few years into the bakery, I had my first child. Though it was difficult trying to navigate being a new mom and business owner, I pushed though and continued with my dream. 3 months later, I had a very big surprise that I was pregnant again with baby boy #2. This is when I had to re-evaluate and make the hard decision to close my bakery. Little did I know, that was the best decision I could have ever made. 

    1 year after closing my bakery doors, I wanted to get back to my passion for baking 
    I knew that I needed to change my business strategy because I wanted to be at home with my 2 boys, yet still be able to be Whitney and continue to grow as an entrepreneur. After many long nights of trying to figure out how I could change my business structure yet do what I love.
    I knew that I still wanted to bake desserts for people, but I wanted to focus a lot more of my energy on teaching others how to bake and create delicious and beautiful things. 

    ​And that my friends, is when The Blonde who Bakes came to be. 

    Archives

    February 2025
    November 2024
    March 2024
    February 2024
    December 2023
    November 2023
    October 2023
    September 2023
    May 2023
    April 2023
    March 2023
    January 2023
    October 2022
    March 2022
    October 2021
    September 2021
    August 2021
    July 2021
    March 2021
    February 2021

    Categories

    All
    Cookies

    RSS Feed

THE BLONDE WHO BAKES


Proudly powered by Weebly
  • HOME
  • SHOP
  • MENU
  • CATERING
  • CLASSES
  • RECIPES
  • Hi, Im Whitney
  • CONTACT US