 Chocolate Cake RecipeINGREDIENTS: 2 1/2 cups All Purpose Flour 2 1/2 teaspoons of Baking Powder 1/2 teaspoon of Baking Soda 1 cup Cocoa Powder (I love the Ghirardelli Cocoa) 1 teaspoon Salt 1/2 cup Vegetable oil 2 cups Granulated Sugar 3 large Eggs 2 teaspoons Vanilla extract 1 1/2 Cup Milk 1 1/2 Cup Hot Water 1/2 cup of Semisweet Chocolate Chips INSTRUCTIONS:
Candy Cane Buttercream FrostingINGREDIENTS: 2 Cups Unsalted Butter. Room Temperature 7-8 Cups Powdered Sugar 1/2 tsp CLEAR Vanilla Extract 1 tsp Peppermint Extract 1/2-1 Cup Heavy Cream 1/3 Cup Crushed Candy Canes (Optional) 2-3 drops of Pink Food Coloring INSTRUCTIONS:
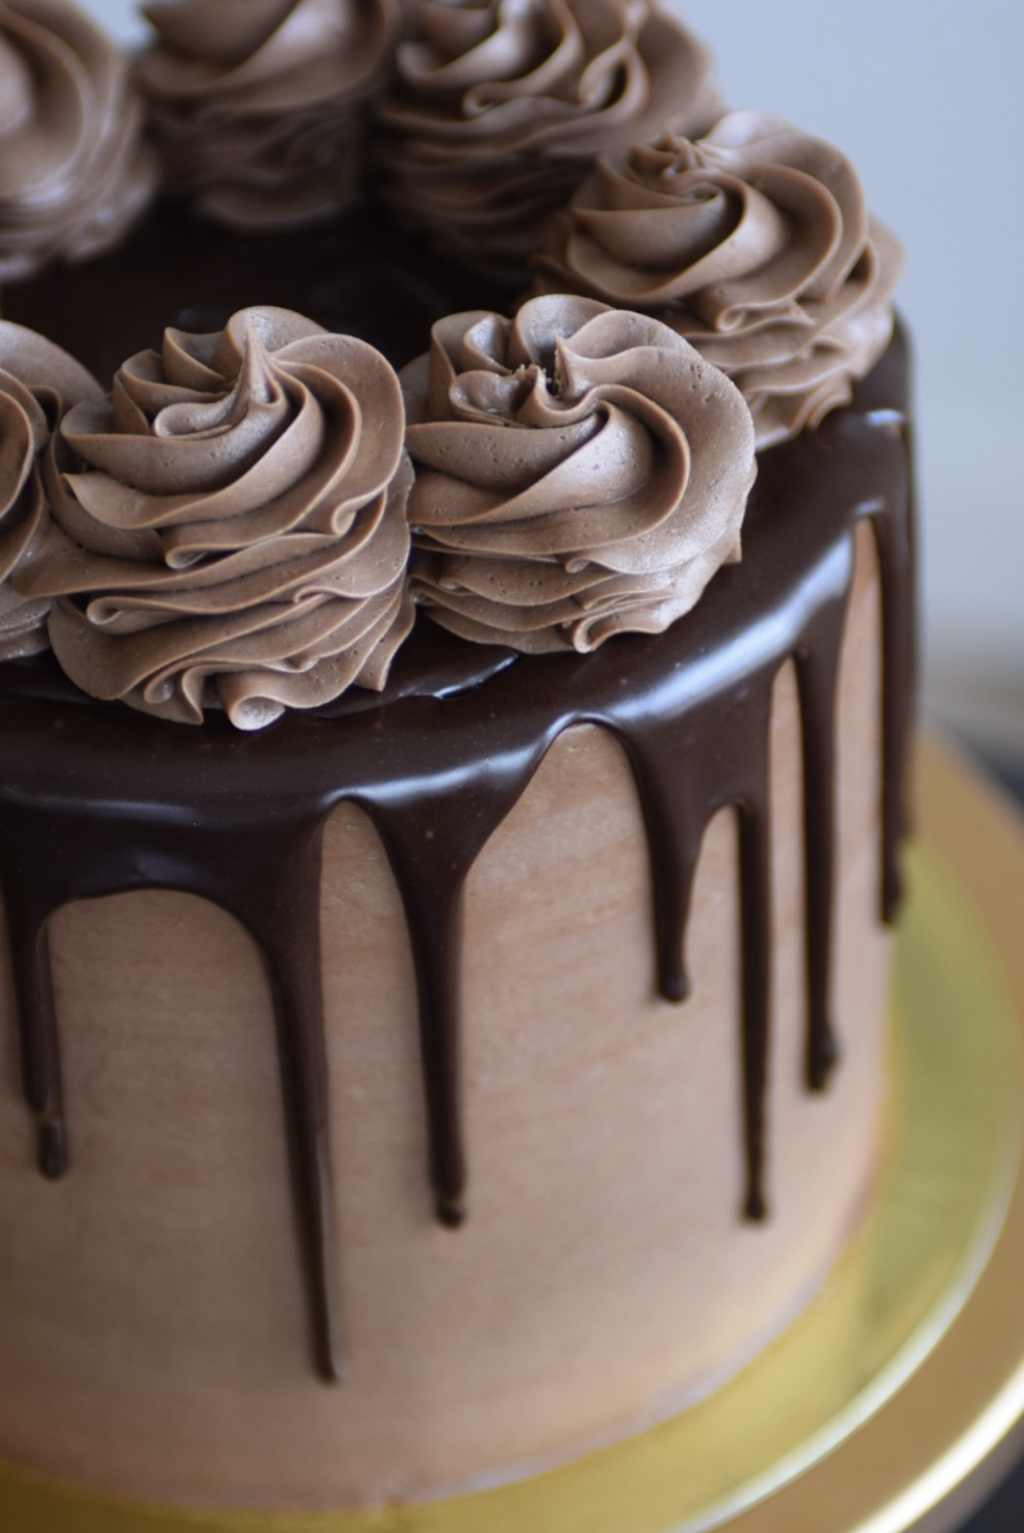
Chocolate Ganache |
Hi, Im Whitney BergeAka, The Blonde who Bakes, Archives
March 2024
Categories |
 RSS Feed