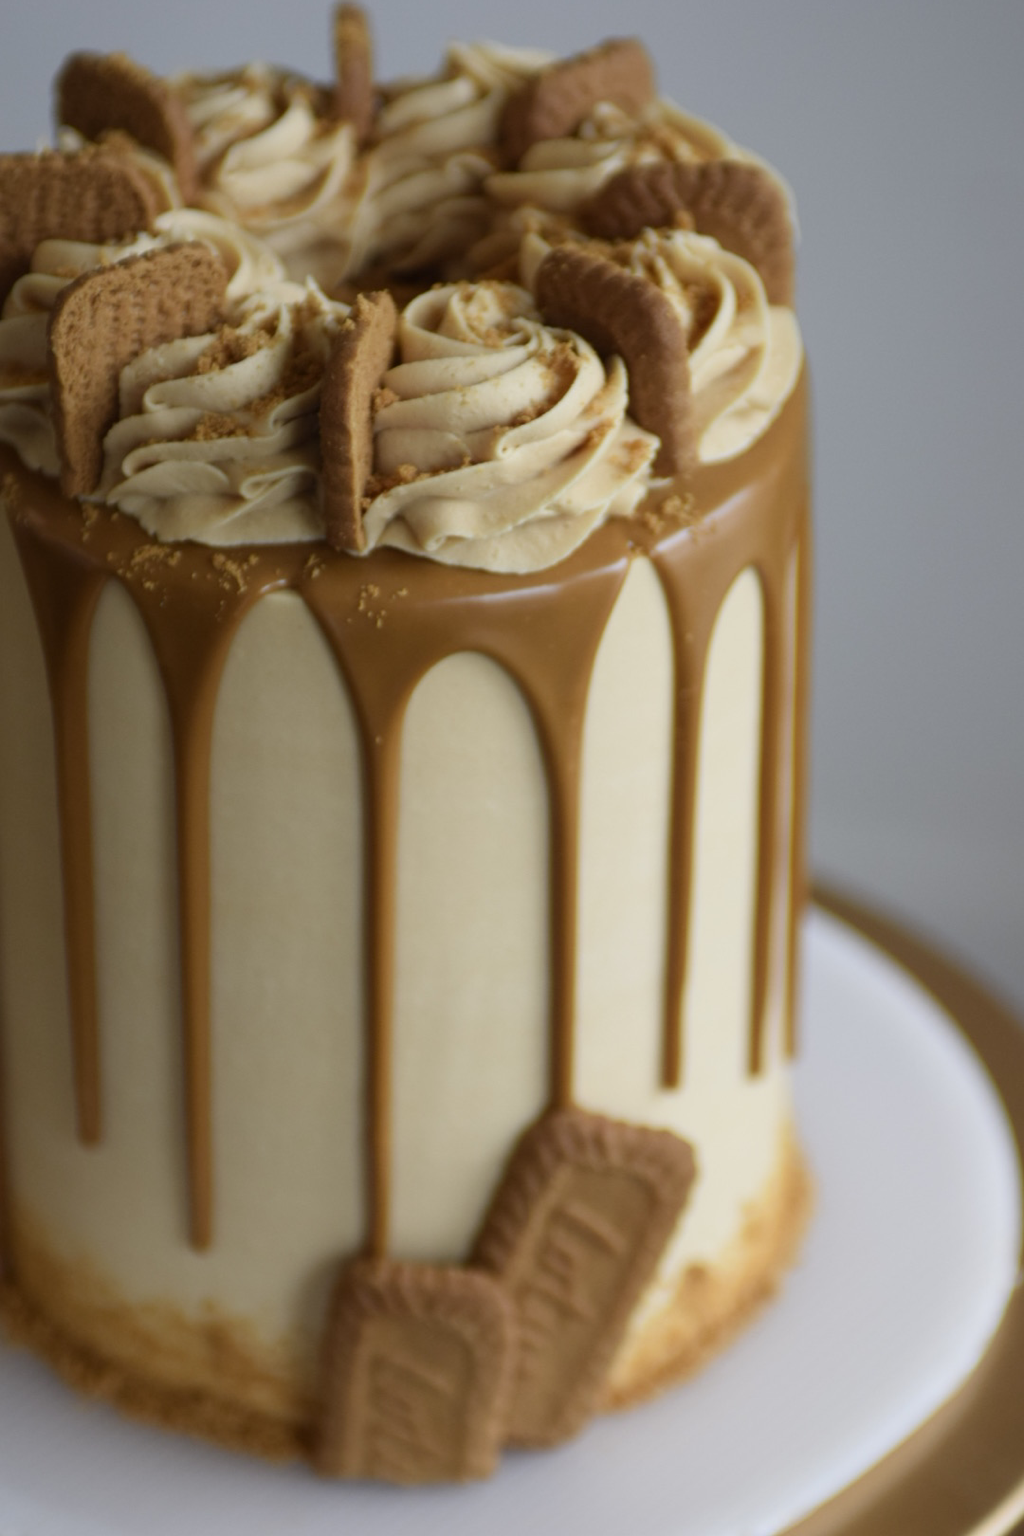
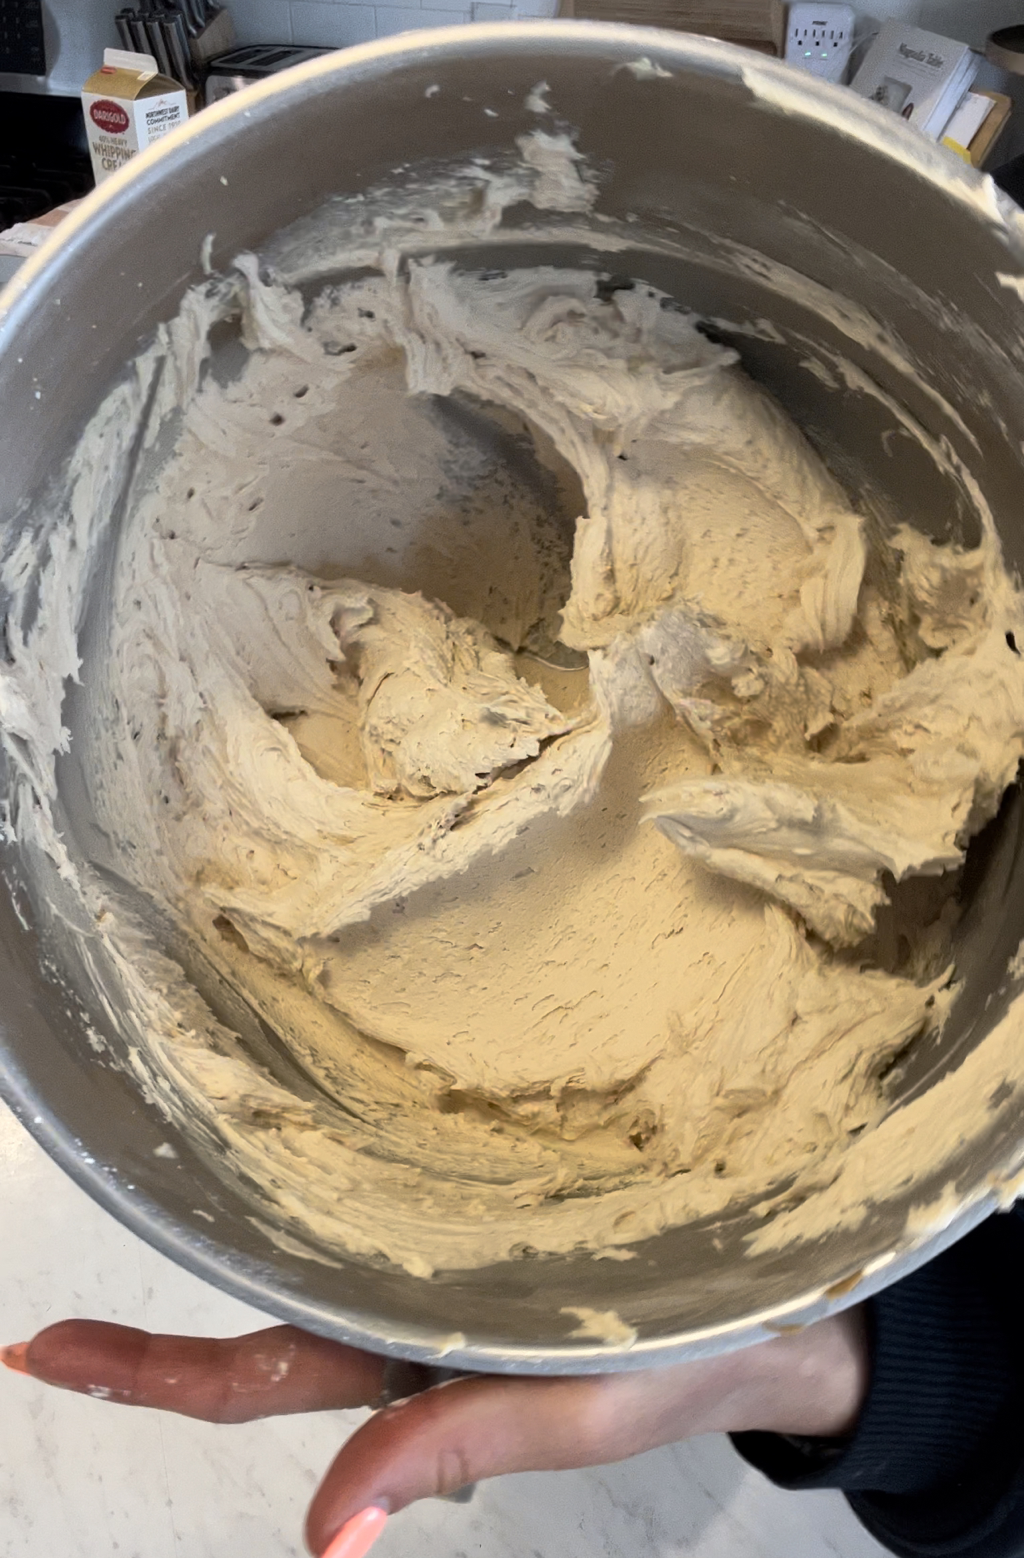
 This cake has been my most requested cake and recipe for the past 2 years. Ever since I started making this flavor, I knew I had something special going with it. And so after 2 years of working with this recipe, I have finally decided it is good enough to share with you! This cake is made with my super delicious and moist Vanilla Cake layers. Filled with Biscoff Cookie Butter, White Chocolate Ganache, Biscoff Buttercream and Biscoff Cookie Crumbs. After filling the cake, I crumb coat the cake with the extra White Chocolate Ganache. Freeze the cake with crumb coat for 30+ minutes. After crumb coat has set, I will cover the cake with the Biscoff Buttercream. Cover the base with Biscoff Cookie Crumbs. Apply a Biscoff Cookie Butter Drip. Then place in freezer again for 15-30 minutes to help set the drip. Once cake is cold and drip has set, I apply rosettes to the top of the cake with a Wilton 1M piping tip and the Biscoff Cookie Buttercream. And for the final effect, I break Biscoff Cookies in between each rosette. For a little something extra, sprinkle some Biscoff Cookie crumbs over the top and you’ve got yourself a very delicious and beautiful “Biscoff Cookie Butter Cake”. I know you are just here for the recipe, so let’s get to it! Vanilla Cake Recipe By: The Blonde who Bakes Ingredients: 3 Cups Cake Flour (I used Lehi mills Cake flour) 1 1/2 tsp Baking Powder 1 tsp Salt 1 Cup Butter, room temperature 2 Cups Granulated Sugar 4 Eggs 2 Egg Whites 1/2 Cup Vegetable Oil 1 tbsp Vanilla extract 1/3 Cup Greek Vanilla yogurt or Sour Cream (Not both) 1 Cup Milk Tools needed: Electric Mixer or Large Bowls Whisk Oven Baking spray 3 Cake Pans (6” cake pans or 2 - 8” pans) Baking Instructions: -Preheat your oven to 325 degrees F. -Prepare three 6” round cake pans OR two 8” pans with non-stick spray Spray again. Set aside. (I highly recommend the “Bakers Spray” or “PAM Baking Spray with flour”.) -In a medium sized mixing bowl, whisk together the cake flour, baking powder and salt. Set aside. -In the bowl of an electric mixer, fitted with the paddle attachment, cream the butter and the sugar for 3 to 5 minutes on medium-high speed. -The mixture should be light and fluffy. Scrape down the sides of the bowl and begin to add the eggs and egg whites on medium speed, scraping down the sides and bottom of the bowl between addition, continue beating on medium-high speed until the texture is smooth and the volume is nearly doubled, about 3 to 5 minutes.Add the vanilla extract and mix until incorporated. -Add the the full Measurement of the vegetable oil. Mix well and incorporate. -Add in the Greek Vanilla yogurt OR sour cream. Mix well. -Slow the mixer down as much as possible, add then in 1/2 of the of flour mixture, -Add 1/2 of the milk. Let mix for 40-60 seconds. -Add in the final measurements of flour and milk. Let mix until fully incorporated. 2-3 minutes. The batter should be smooth. -Pour cake batter into each of the prepared three 6”cake pans. Or 2 8” pans. Level out all the batter in each pan. -Place in over to bake at 325°F for 32-36 minutes. -To check doneness, you can touch the top of the cake very lightly. If it stays firm and holds it shaped, almost bounces back, your cake is done. -You can also insert a toothpick into the center of the cake. If comes out with a few moist crumbs on it. Let cool in the pans for about 15-20 minutes and then remove from cake plans and place cake on cake board. -Place cake layers in the freezer for 4-6 hours. -After cold and solid, it’s time to decorate! 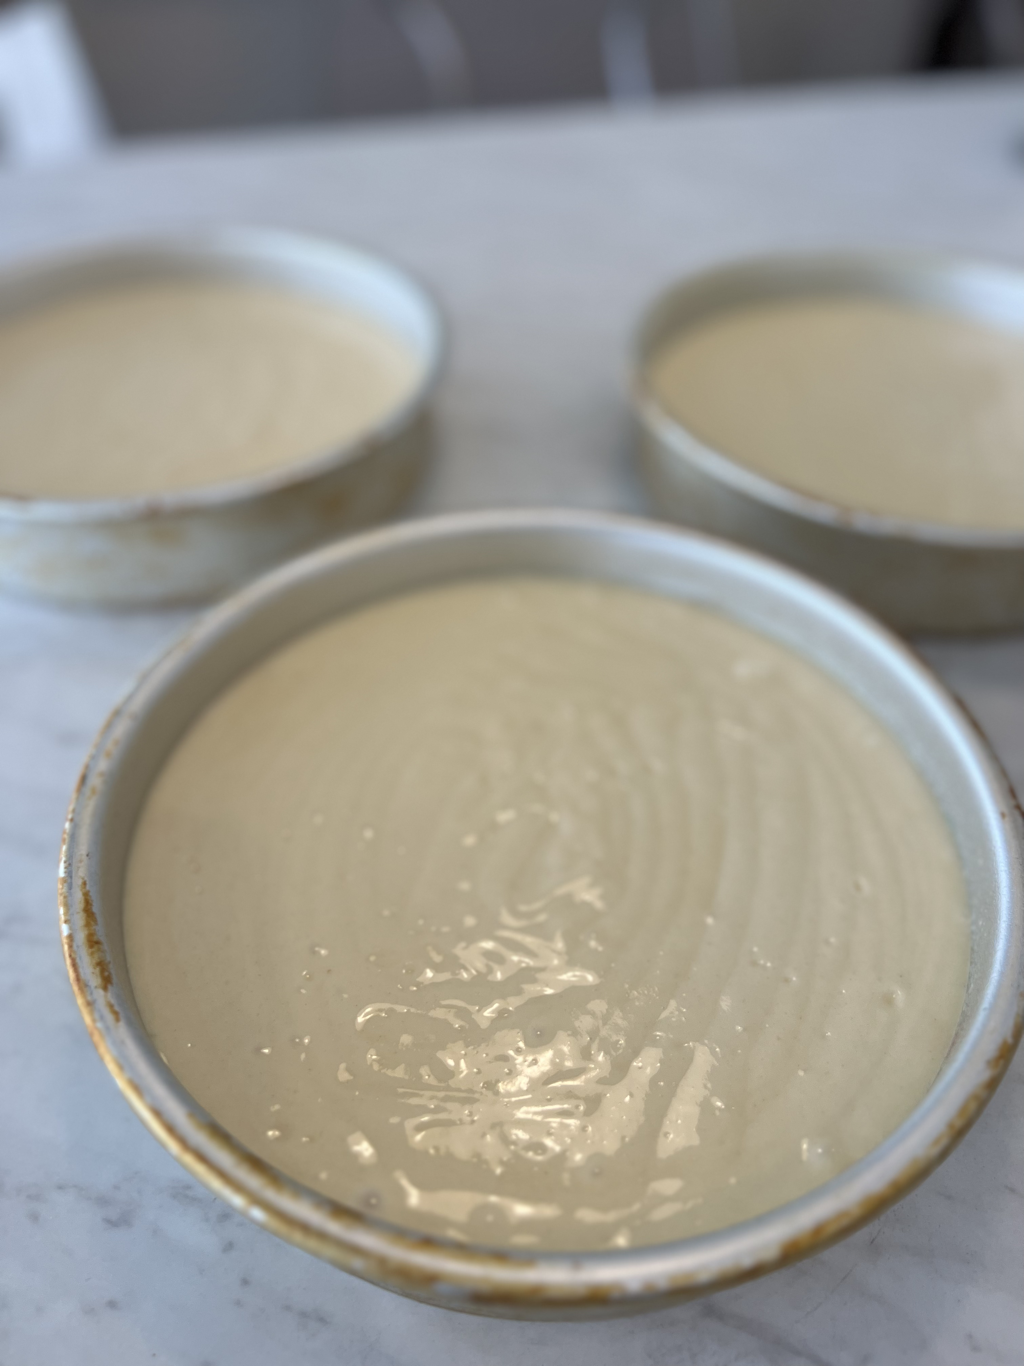 TIME FOR FILLINGS AND FROSTING Biscoff Cookie Butter Buttercream RecipeINGREDIENTS: :2 Cups Soft Room Temperature, UnSalted Butter 14 oz (1 can) “Lotus” Biscoff Cookie Butter 7-8 Cups Powdered Sugar 1 1/2 tsp CLEAR Vanilla Extract 1/2-1 C Heavy Cream INSTRUCTIONS:
 WHITE CHOCOLATE GANACHEINGREDIENTS: 3/4 Cup Heavy Cream 1.5 Cups White Chocolate Chips 1 Tsp Vanilla extract Instructions: -Boil the Heavy Cream in a small sauce pan Once boiling, remove from heat. -Pour your chocolate over the very hot Heavy Cream, -Let cream and chocolate sit for 3-5 minutes before mixing. -Mix until fully incorporated. Your ganache should become thicker the longer it sits and cools. So let it cool completely before using.  Extra Information about this cake: For an added Biscoff Flavor experience, I recommend using the Biscoff Cookie Butter as another filling to the cake along with the White Chocolate Ganache, Biscoff Buttercream and Biscoff Cookie Crumbs. So when you prep for this cake, I recommend you get 3- 14oz containers of the Biscoff Cookie Butter. Once you have layered your cake with those delicious fillings and frostings, freeze your cake after your final coat of frosting, Once your cake is cold again, apply a Biscoff Cookie Butter Drip, and Biscoff Crumbs at the base. Freeze again to set the drip, freeze until it is not sticky anymore. Take out of freezer and apply rosettes with your Biscoff Buttercream. And top off the design with some Biscoff Cookies. If you’d like to see how I put this cake together, I have it linked on this post to my Instagram and TikTok pages. 
2 Comments
Maria
8/16/2023 10:03:25 am
Love your cakes! 4/28/2024 08:44:05 am
I follow you on TikTok and wanted to try this recipe. Thank you so much for sharing. Honestly your vanilla cake.....WOW...literally the best vanilla cake I have had. I plan to reduce the white sugar just a little bit, but other than that it is truly the perfect recipe. I had my best customers try this and they were blown away. Thank you again for sharing and I think you are so pretty!! Leave a Reply. |
Hi, Im Whitney BergeAka, The Blonde who Bakes, Archives
March 2024
Categories |
 RSS Feed