THE BLONDE WHO BAKES
  • HOME
  • SHOP
  • MENU
  • CATERING
  • CLASSES
  • RECIPES
  • Hi, Im Whitney
  • CONTACT US

Lemon Berry Cake

3/18/2024

10 Comments

 
Picture
INGREDIENTS:
3 Cups Cake Flour (I used Lehi mills Cake flour)

1 1/2 tsp Baking Powder
1 tsp Salt
1 Cup Butter, room temperature
2 Cups Granulated Sugar
4 Eggs
2 Egg Whites
1/2 Cup Vegetable Oil
1 tbsp Lemon Extract
1/4 Cup Lemon Juice

1/3 Cup Greek Vanilla yogurt or Sour Cream
1 Cup Milk


TOOLS NEEDED:
Electric Mixer or Large Bowls
Whisk
Oven
Baking spray
3 Cake Pans (6” cake pans or 2 - 8” pans)
​

BAKING INSTRUCTIONS:

-Preheat your oven to 325 degrees F.

-Prepare three 6” round cake pans OR two 8” pans with non-stick spray Spray again. Set aside. (I highly recommend the “Bakers Spray” or “PAM Baking Spray with flour”.)

-In a medium sized mixing bowl, whisk together the cake flour, baking powder and salt. Set aside.

-In the bowl of an electric mixer, fitted with the paddle attachment, cream the butter and the sugar for 3 to 5 minutes on medium-high speed.

-The mixture should be light and fluffy. Scrape down the sides of the bowl and begin to add the eggs and egg whites on medium speed, scraping down the sides and bottom of the bowl between addition, continue beating on medium-high speed until the texture is smooth and the volume is nearly doubled, about 3 to 5 minutes. Add the Lemon extract and Lemon Juice, and mix until incorporated.

-Add the the full Measurement of the vegetable oil and lemon juice. Mix well and incorporate.

-Add in the Greek Vanilla yogurt OR sour cream. Mix well.

-Slow the mixer down as much as possible, add then in 1/2 of the of flour mixture,

-Add 1/2 of the milk. Let mix for 40-60 seconds.

-Add in the final measurements of flour and milk. Let mix until fully incorporated. 2-3 minutes. The batter should be smooth.

-Pour cake batter into each of the prepared three 6”cake pans. Or 2 8” pans. Level out all the batter in each pan.

-Place in over to bake at 325°F for 32-36 minutes.

-To check doneness, you can touch the top of the cake very lightly. If it stays firm and holds it shaped, almost bounces back, your cake is done.

-You can also insert a toothpick into the center of the cake. If comes out with a few moist crumbs on it. Let cool in the pans for about 15-20 minutes and then remove from cake plans and place cake on cake board.

-Place cake layers in the freezer for 4-6 hours.


-After cold and solid, it’s time to decorate!

​

​

Lemon Simple Syrup

INGREDIENTS:
1 cup warm water
1/2 cup sugar
1 tsp of lemon extract or lemon juice

INSTRUCTIONS:
-add all ingredients in a glass measuring cup, mix well and its ready to use.


Picture

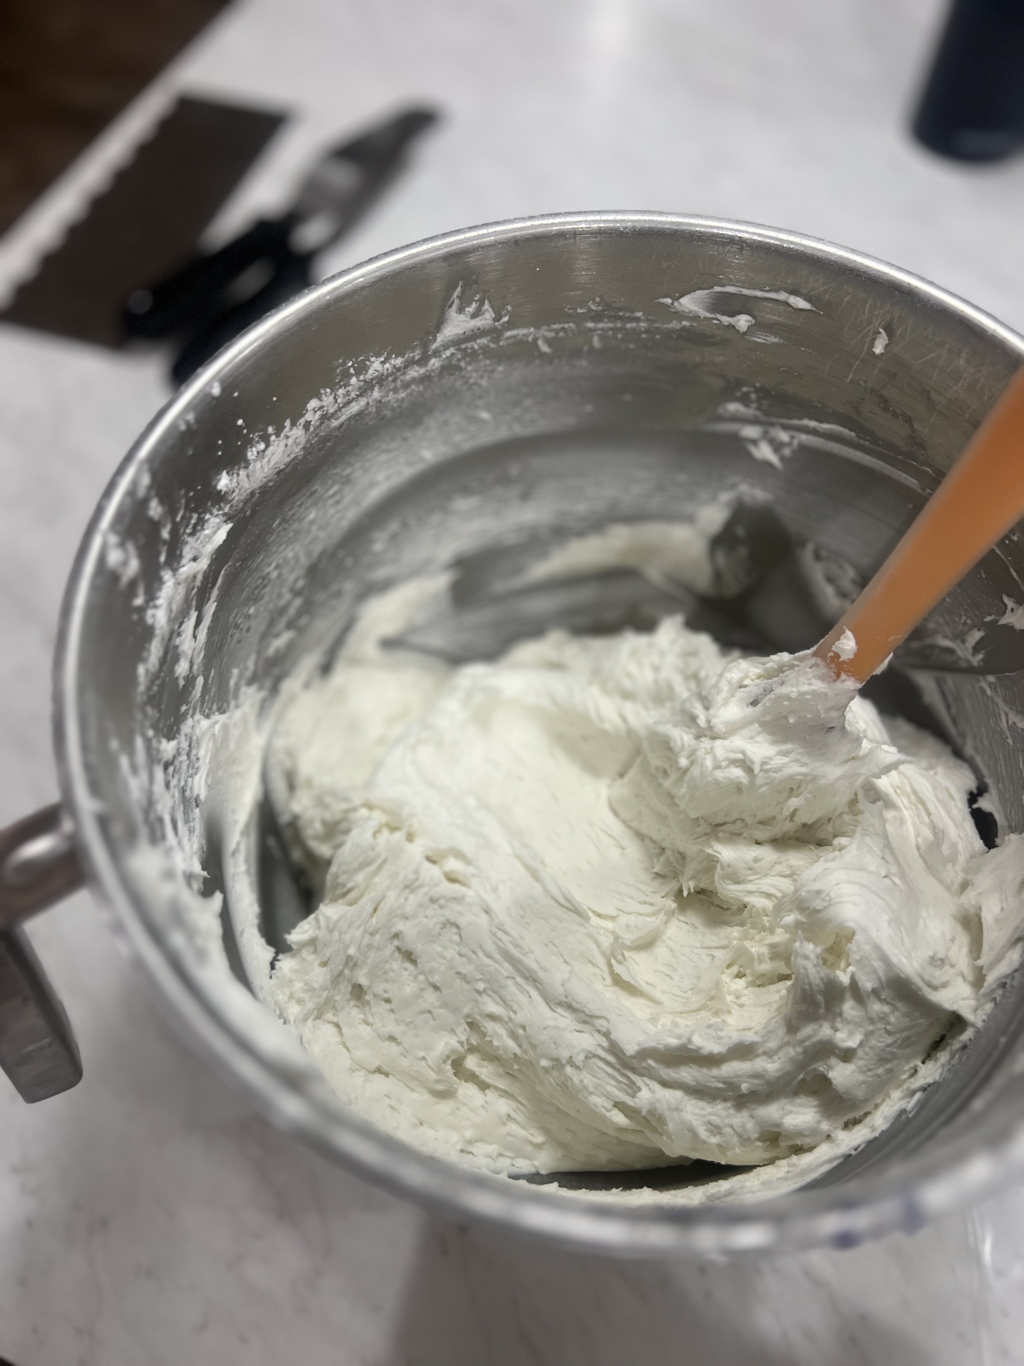
SWEET LEMON BUTTERCREAM

INGREDIENTS:
2 Cups Soft Room Temperature, UnSalted Butter

7-8 Cups Powdered Sugar
1 1/2 tsp Lemon Extract
1 tsp Lemon Juice
​Lemon Zest (optional)

1/2-1 C Heavy Cream
​Yellow Food Color (optional)

INSTRUCTIONS:
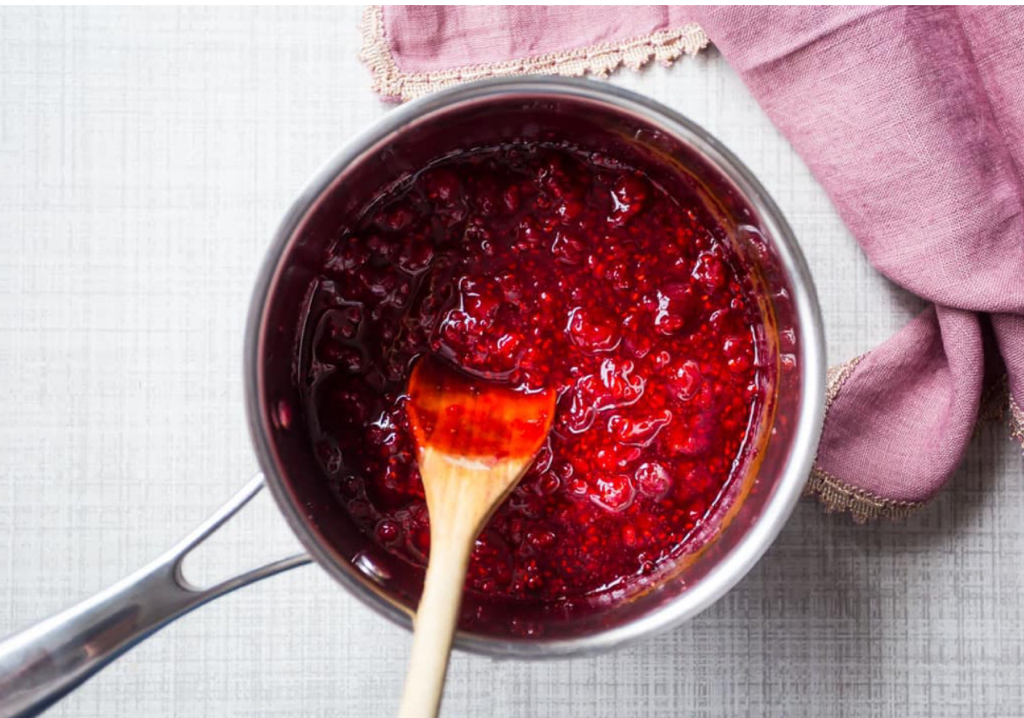
  1. In a stand mixer, use your paddle attachment and cream your butter. Mix on medium/high speed for 2-3 minutes. Or until silky and creamy. (There should be no clumps. If there is, mix for longer on high speed.)
  2. Turn mixer down to low speed and add in your lemon extract and lemon juice. Mix for 45-60 seconds.
  3. While your mixer is on the lowest speed, Add in your full measurements of Powdered sugar. Mix for 1 minute on low.
  4. Add in your heavy cream in small 1/4 cup increments. After 1-2 measurements of cream, the powdered sugar should start incorporating. Once it does, turn mixer speed up to medium high speed. Continue to add in small increments of cream until you’ve reached your desired frosting consistency.
  5. Once fully mixed, take off stand mixer and mix your frosting with a wooden spoon and get out any extra air pockets and create a smooth creamy finish.
    ​
Picture

RASPBERRY PUREÉ

INGREDIENTS:
10 ounces (300 grams) Raspberries 
2 Tbsp Granulated Sugar
1 tsp EZ Gel (thickening agent) 
1/2 tsp Lemon Juice

INSTRUCTIONS:
-In a sauce pan, over medium/high heat, heat the raspberries, sugar and lemon juice until it starts to bubble, and break down. Stir frequently. 


-Pour mixture into blender or food processor and pulse a few times. Mixture should be somewhat smooth. 

-If too thick, add splashes of water until you get your desired consistency. 

-Refrigerate for a few hours until it thickens up more, and becomes more stable.  

NOTES:

​-You can use this as a filling for Cakes and other desserts/pastries. You can also add to frostings to create a delicious and fresh tasting buttercream,
-Use this recipe and different berries to create other flavor variations, such as strawberries, blackberries and/or blueberries.
10 Comments
Haley Long
3/24/2024 03:39:23 pm

Hey Whitney! What is the measurement on the lemon juice?

Reply
Jen
8/24/2024 05:36:43 pm

Wondering the same! It just says 1/4 lemon juice. 1/4 of a lemon?? 1/4 of a cup?

Reply
Madeline
9/3/2024 08:41:20 pm

Did you ever figure out how much lemon juice?

Lisa
3/30/2024 04:44:32 am

This lemon buttercream is amazing! I’ve been baking and decorating for many years, for some reason I’ve never tried this particular variation of buttercream that uses whipping cream along with butter. It’s so easy to make, turned out creamy and very stable.

Reply
Nicole
4/18/2024 10:37:28 am

I made the lemon cake / lemon buttercream with your recipes for my husbands 50th birthday party. It was the most delicious cake I’ve made so far. All the guests loved it too. Perfection. Thank you. I wish o could attach a pic.

Reply
Kimm
4/22/2024 07:08:15 pm

For the Raspberry Puree, you have EZ gel listed in the ingredients. I don't see where you add it in.

Reply
rain
5/2/2024 09:23:00 am

Hi i think you add it after you make ur filling to thicken it if u dont have any cornstarch work also

Reply
Joni
5/13/2024 11:26:51 am

I made this cake for Mother's Day. It was fantastic! Not as pretty (I ran out of buttercream). The cake was moist and tasted wonderful. Thanks for sharing!

Reply
Nicole
7/31/2024 06:48:16 pm

I made this in cupcake form tonight and the cake shrunk up and the cupcake liners are separating from the cake. Any idea what I did wrong? Would this recipe need altered for cupcakes? Thank you!

Reply
Simone
9/8/2024 10:24:44 am

Hi!
Looks delicious - is it just me or are the instructions on how it's assembled and decorated missing?
Thanks in advance!
/Simone

Reply


Leave a Reply.

    Hi, Im Whitney Berge

    Aka, The Blonde who Bakes,
    I am a wife and mom of 3, and a self- taught baker. I did not attend any formal culinary training, but I believe that nothing compares to learning as you go.
    Being in the kitchen baking is something that has always been special to me, and I knew that I could use my business knowledge as well as my baking experience to bless others with some delicious desserts, but also teach them that they can do it as well.
    About 15 years ago, I made the decision to not continue in my schooling for Sports Medicine and jumped in to selling my cakes and desserts.
    My clientele grew steadily, and I had some very loyal customers. So I made the decision to open up a brick and mortar bakery. 
    a few years into the bakery, I had my first child. Though it was difficult trying to navigate being a new mom and business owner, I pushed though and continued with my dream. 3 months later, I had a very big surprise that I was pregnant again with baby boy #2. This is when I had to re-evaluate and make the hard decision to close my bakery. Little did I know, that was the best decision I could have ever made. 

    1 year after closing my bakery doors, I wanted to get back to my passion for baking 
    I knew that I needed to change my business strategy because I wanted to be at home with my 2 boys, yet still be able to be Whitney and continue to grow as an entrepreneur. After many long nights of trying to figure out how I could change my business structure yet do what I love.
    I knew that I still wanted to bake desserts for people, but I wanted to focus a lot more of my energy on teaching others how to bake and create delicious and beautiful things. 

    ​And that my friends, is when The Blonde who Bakes came to be. 

    Archives

    February 2025
    November 2024
    March 2024
    February 2024
    December 2023
    November 2023
    October 2023
    September 2023
    May 2023
    April 2023
    March 2023
    January 2023
    October 2022
    March 2022
    October 2021
    September 2021
    August 2021
    July 2021
    March 2021
    February 2021

    Categories

    All
    Cookies

    RSS Feed

THE BLONDE WHO BAKES


Proudly powered by Weebly
  • HOME
  • SHOP
  • MENU
  • CATERING
  • CLASSES
  • RECIPES
  • Hi, Im Whitney
  • CONTACT US