|
If you’re a chocolate peanut butter lover like I am, this recipe is definitely for you!! I have tried and tested SO many chocolate peanut butter cookies, and I have compiled a list of what I liked and what I didn’t with each one. That way when I made my cookies they where exactly what I craved and liked. My requirements for these cookies included: A big cookie that is chewy on the inside, lots of chocolate but not “too much”, yummy right out of the oven and also a day or 2 after baking, and last but not least, it needed a really good peanut butter flavor that held up against the deep chocolate taste. Once I made this batch of cookies, I knew that I had to share. They were too delicious to keep to myself. I will share with you my recipe, and then after I share the ingredients and instructions, I will share my tips and tricks to make these the best version of the Cookie ad possible. So I think that we are going to jump to the recipe. There is no reason to have you wait or read any longer than you need to. 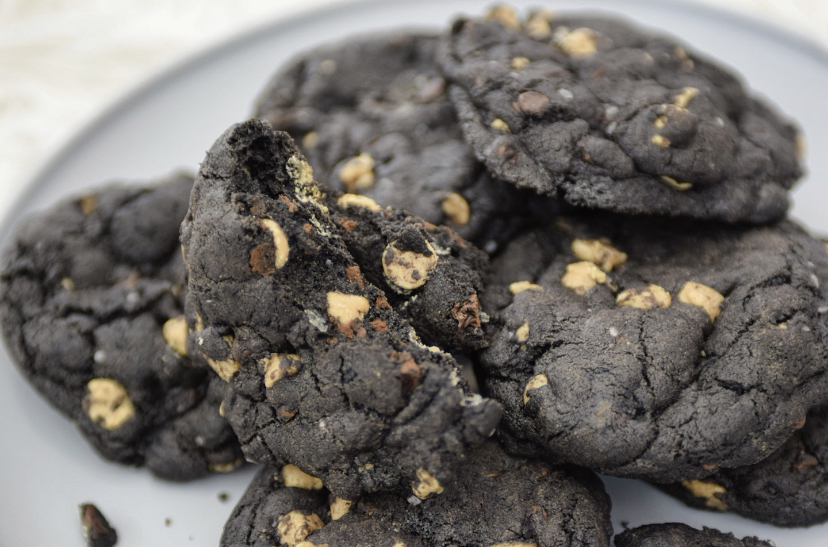 INGREDIENTS: Group 1: Dry Ingredients (combine all dry ingredients in a large bowl) 2 1/4 cup all purpose flour 1/2 cup Dutch process cocoa powder 1 teaspoon baking soda 1 teaspoon baking powder Group 2: Put in Electric Stand mixer bowl 1 1/2 sticks of cold butter (unsalted) 1 cup light brown sugar 1/4 cup granulated sugar Group 3: Put in a separate bowl 1 Lg Egg 1 Lg Egg Yolk Group 4: 3/4 Bag of Reese’s Peanut Butter Chips 1/2 cup semi sweet chocolate chips BAKING PREP:Preheat oven to 370°F Prep baking sheets with a silpat mat or parchment paper.. Measure and set out all ingredients on table. BAKING INSTRUCTIONS:1. Combine all dry ingredients in a large mixing bowl. (flour, cocoa powder, baking soda and powder, and salt).
2. Put butter and sugars in a large mixing bowl, and cream together until fluffy. 3. Once the butter and sugar mixture is fluffy, add in the eggs and vanilla. Mix until combined. 4. Scrape down bowl and mix again. 5. Turn mixer to the slowest speed setting, add in dry ingredients in small increments. 6. Add your baking chips and Chocolate chips. Mix only until combined. You do not want to over mix the dough. 7. Once you have mixed in all the ingredients, remove the paddle attachment and start rolling cookie dough into balls. 8. Do not squish them or flatten them down!!! By keeping them in the ball shape it will create that big/full shape. (I put 6 per baking sheet.) 9. Place 1 baking sheet in the oven at a time. And Bake for 10-11 minutes. 10. Let cookies cool after baking for about 15-20 minutes. 11. You can save cookies by putting them in a large Freezer bag and keep them on the counter for a few days. If you’d like to save them for a future date, put them in the freezer. 12. You can reheat the cookies to make them soft and gooey by putting them in the microwave for 10-15 seconds. ENJOY!!! I hope you guys like the recipe and the cookies! Tag us in your post if you end up making them and loving them! @theblondewhobakes on Instagram or Facebook.
0 Comments
Leave a Reply. |
Hi, Im Whitney BergeAka, The Blonde who Bakes, Archives
March 2024
Categories |
 RSS Feed