 Gluten Free Vanilla Cake Recipe By: The Blonde who Bakes Ingredients: 3 Cups Bobs Red Mill Gluten Free 1 to 1 Baking Flour 1 1/2 tsp Baking Powder 1 tsp Salt 1 Cup Butter, room temperature 2 Cups Granulated Sugar 4 Eggs 2 Egg Whites 1/2 Cup Vegetable Oil 1 tbsp Vanilla extract 1/3 Cup Greek Vanilla yogurt or Sour Cream 1 Cup Milk Tools needed: Electric Mixer or Large Bowls Whisk Oven Baking spray 3 Cake Pans (6” cake pans or 2 - 8” pans) Baking Instructions: -Preheat your oven to 325 degrees F. -Prepare three 6” round cake pans OR two 8” pans with non-stick spray Spray. Set aside. (I highly recommend the “Bakers Spray” or “PAM Baking Spray. -In a medium sized mixing bowl, whisk together the Gluten Free Flour, baking powder and salt. Set aside. -In the bowl of an electric mixer, fitted with the paddle attachment, cream the butter and the sugar for 3 to 5 minutes on medium-high speed. -The mixture should be light and fluffy. Scrape down the sides of the bowl. -Add the 4 lg eggs and 2 egg whites on medium speed, scraping down the sides and bottom of the bowl between addition, continue beating on medium-high speed until the texture is smooth and the volume is nearly doubled, about 3 to 5 minutes. Add the vanilla extract and mix until incorporated. -Add the the vegetable oil. Mix well and incorporate. -Add in the Greek Vanilla yogurt OR sour cream. Mix well. -Slow the mixer down as much as possible, add then in 1/2 of the of flour mixture, -Add 1/2 of the milk. Let mix for 40-60 seconds. -Add in the final measurements of flour and milk. Let mix until fully incorporated. 2-3 minutes. The batter should be smooth. -Pour cake batter into each of the prepared 3 - 6” cake pans. Or 2 - 8” pans. Level out all the batter in each pan. -Place in over to bake at 325°F for 32-36 minutes. -To check doneness, you can touch the top of the cake very lightly. If it stays firm and holds it shaped, almost bounces back, your cake is done. -You can also insert a toothpick into the center of the cake. If comes out with a few moist crumbs on it. Let cool in the pans for about 15-20 minutes and then remove from cake plans and place cake on cake board. -Place cake layers in the freezer for 4-6 hours. -After cold and solid, it’s time to decorate! 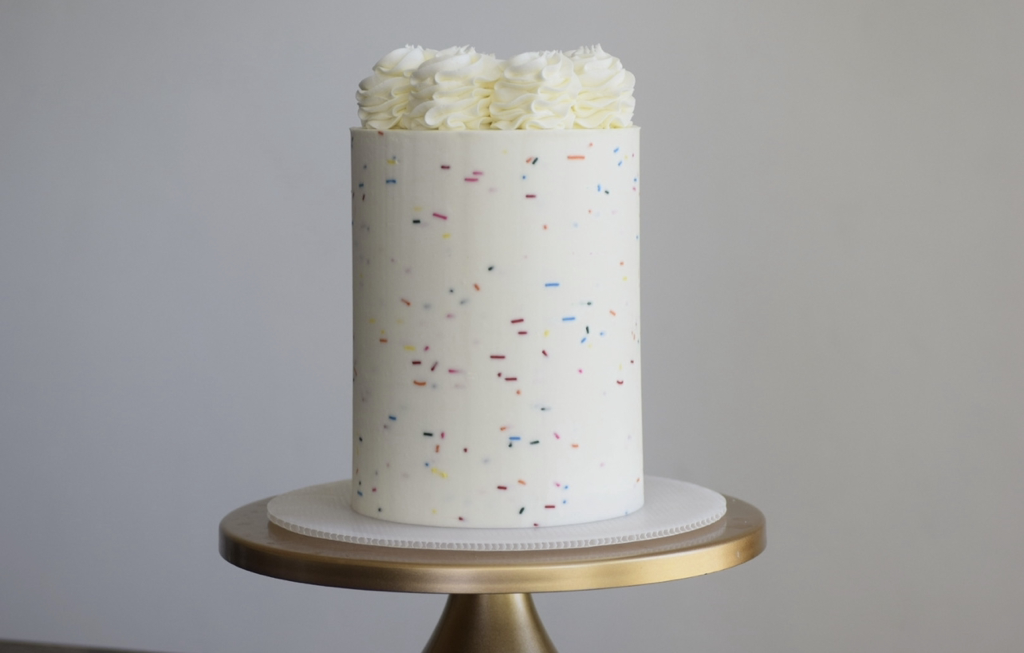 The cool thing about this cake, is that you can add different ingredients to it to create new and delicious flavors. For a simple example, I used this recipe for the cake above, and added rainbow sprinkles to make a "funfetti" style cake. So simple but so fun!
Another way to make a new flavor is add different flavor extracts. You can add an Almond flavor and some poppy seeds to create an Almond Poppy seed cake. Or Lemon extract and juice, then make some yummy lemon buttercream or lemon curd, and you have yourself a delicious lemon cake.
2 Comments
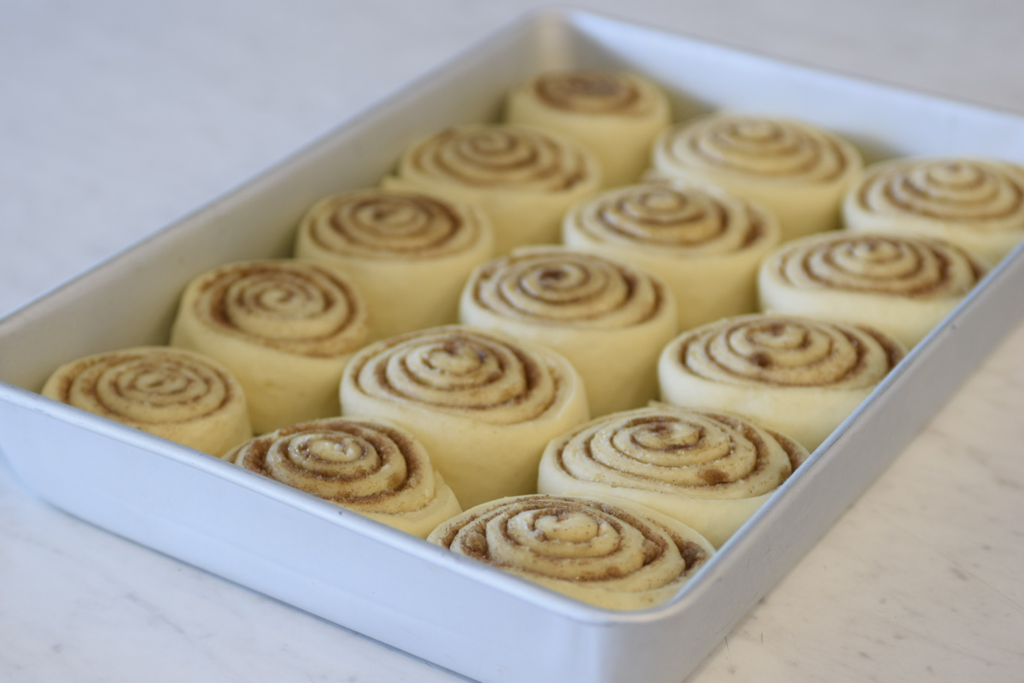
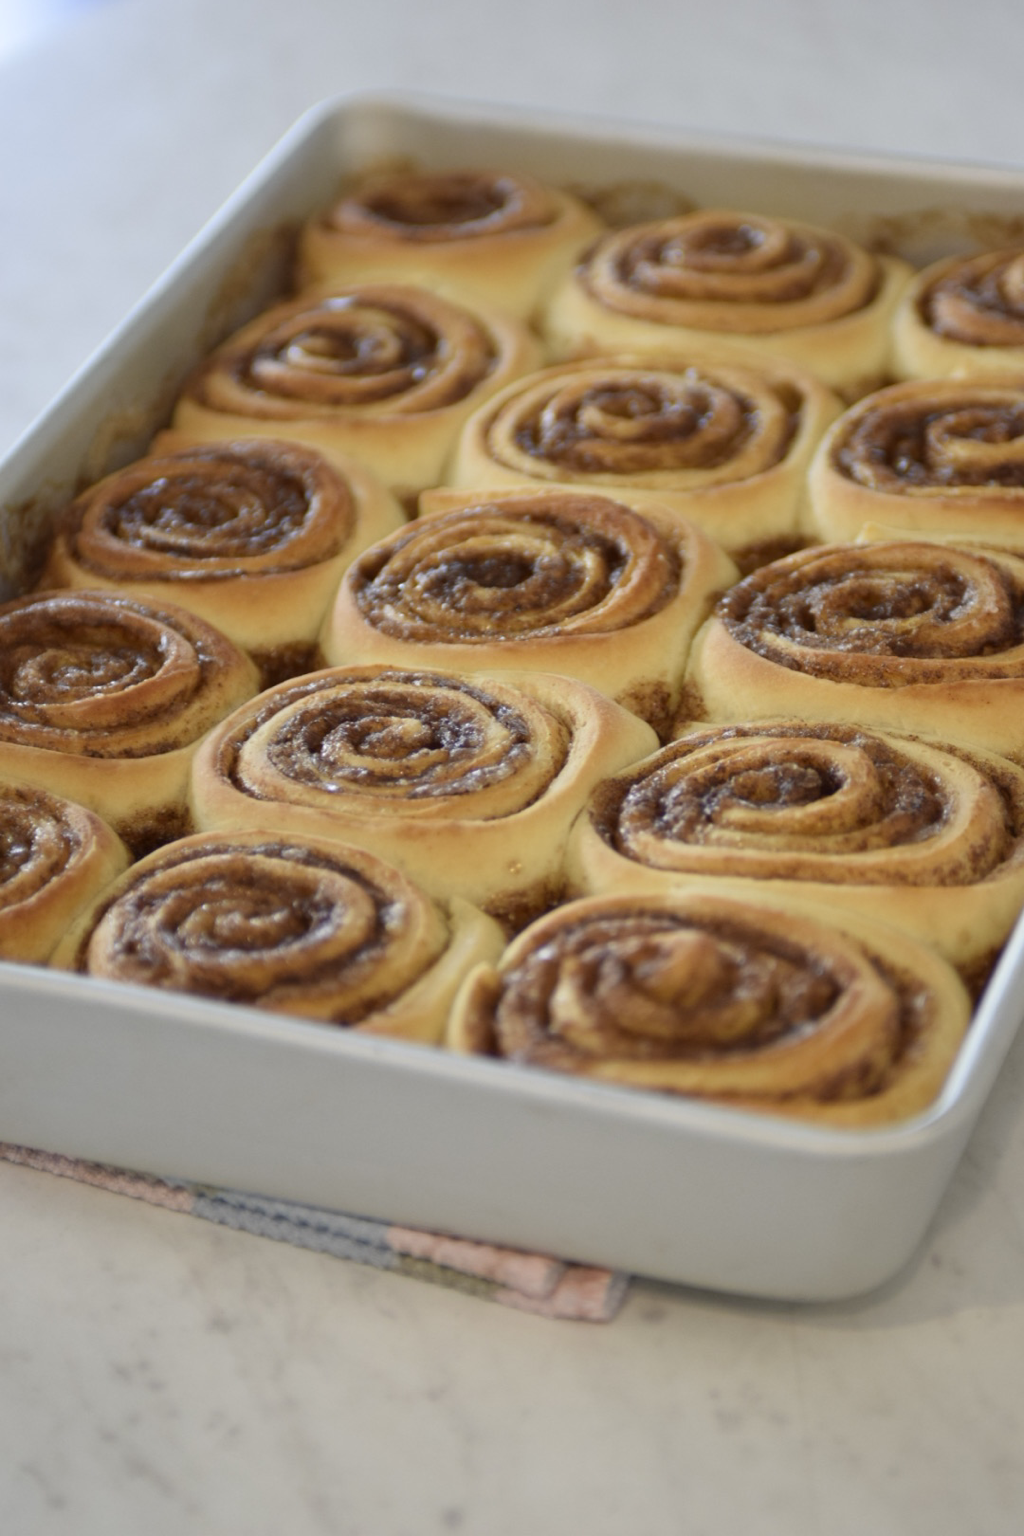 Cinnamon Rolls have always been a favorite of mine. I have vivid memories of walking into Cinnabon after working with my grandpa, and I remember everything about those cinnamon rolls were spot on in my mind. The smell, the size, and how soft they were. So when I came up with this recipe, I knew that they had to be somewhat similar to those cinnamon rolls from my childhood. And while those memories with my grandpa make those cinnamon rolls good, I think these might take the cake. And that’s saying a lot! So believe me when I say, YOU NEED TO TRY THESE!!! Whitney’s Cinnamon Roll RecipeINGREDIENTS: 1 Cup Warm Milk 1 Packet Instant dry yeast 1 1/2 Tbsp Honey 2 Lg Eggs 5 Tbsp Salted Butter (Melted) 3 1/2-4 Cups All Purpose Flour 1/2 Tsp Salt CINNAMON & SUGAR FILLING: 6-8 Tbsp Salted Butter (very soft) 1 Cup Brown Sugar 1/4 Cup Cane Sugar 2-3 Tbsp Cinnamon INSTRUCTIONS: To make the dough 1. Melt butter, let sit. 2. In mixing bowl, crack eggs and mix. 3. In bowl of a stand mixer attach the dough hook attachment, add the warm milk, instant yeast, honey, and salt to the already mixed eggs. 3. After liquid ingredients are combined, add the flour in 1 Cup increments until you've added all of the 3.5-4 Cups. 4. Beat the dough until everything is fully incorporated. (3-5 minutes) 5. Once your dough is done, remove from mixer and cover the bowl with plastic wrap for 1 hour, and let sit out at room temp. The goal of this step is to get the dough to double in size. 6. Once doubled in size, it's time to roll out and make some cinnamon rolls! (Scroll down the page to find Cinnamon Roll instructions) INSTRUCTIONS:
 Vanilla Buttercream Frosting (topping)2 Cups Soft Room Temperature, UnSalted Butter 7-8 Cups Powdered Sugar 1 1/2 tsp CLEAR Vanilla Extract 1/2-1 C Heavy Cream INSTRUCTIONS:
Once you make these I would love to hear what you think about them!
|
Hi, Im Whitney BergeAka, The Blonde who Bakes, Archives
March 2024
Categories |
 RSS Feed