|
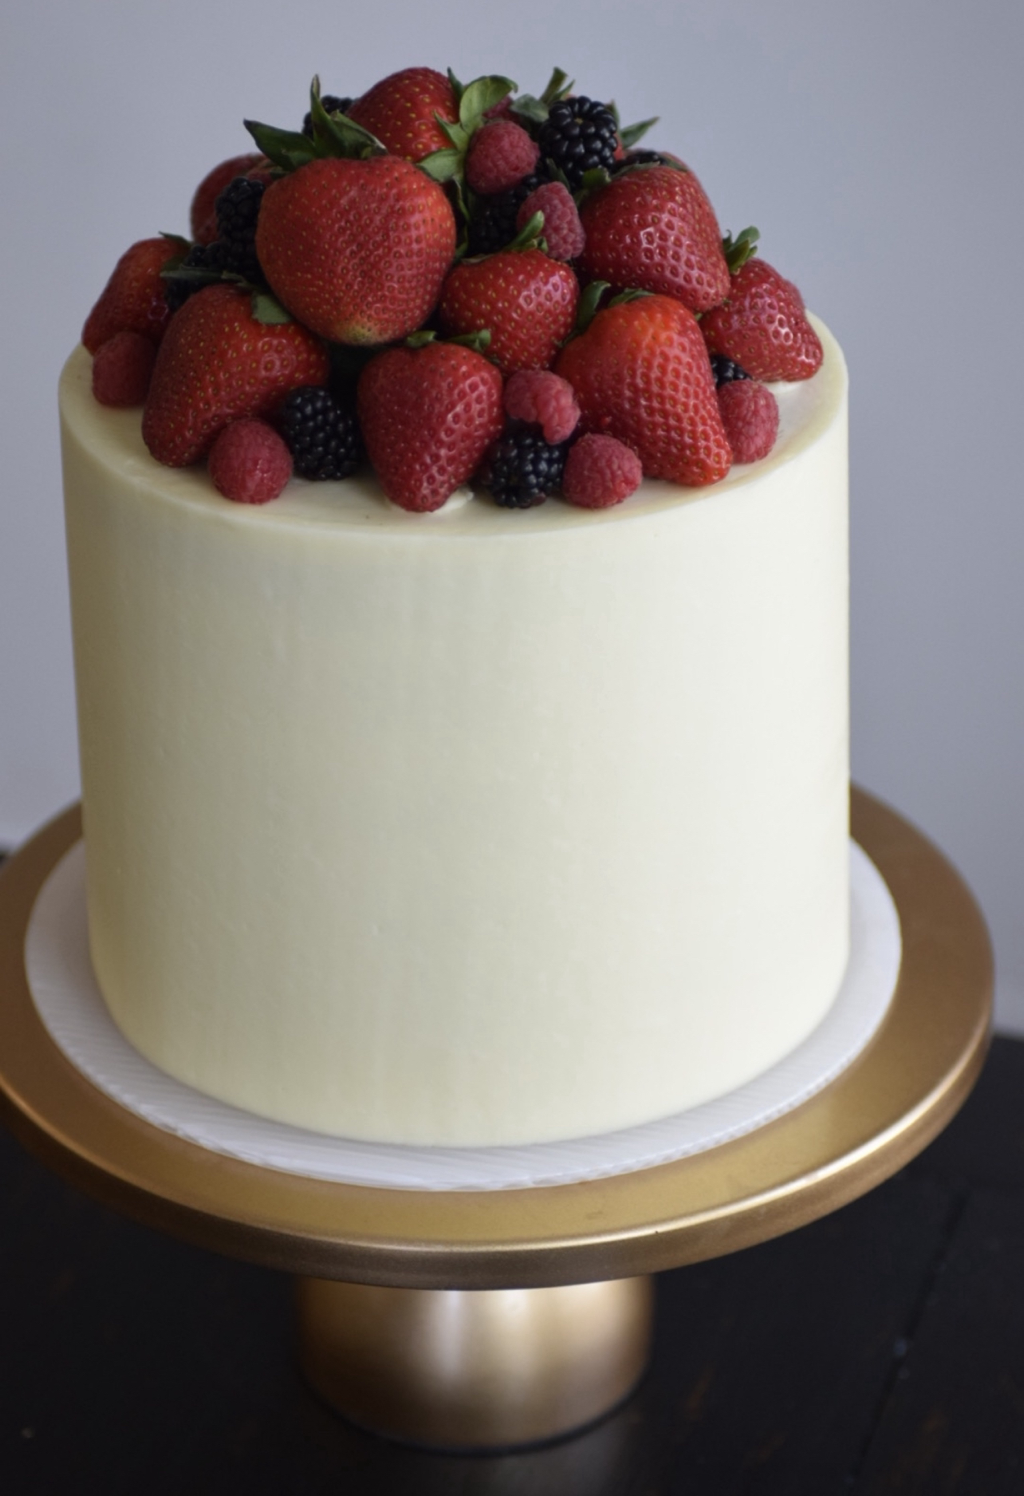
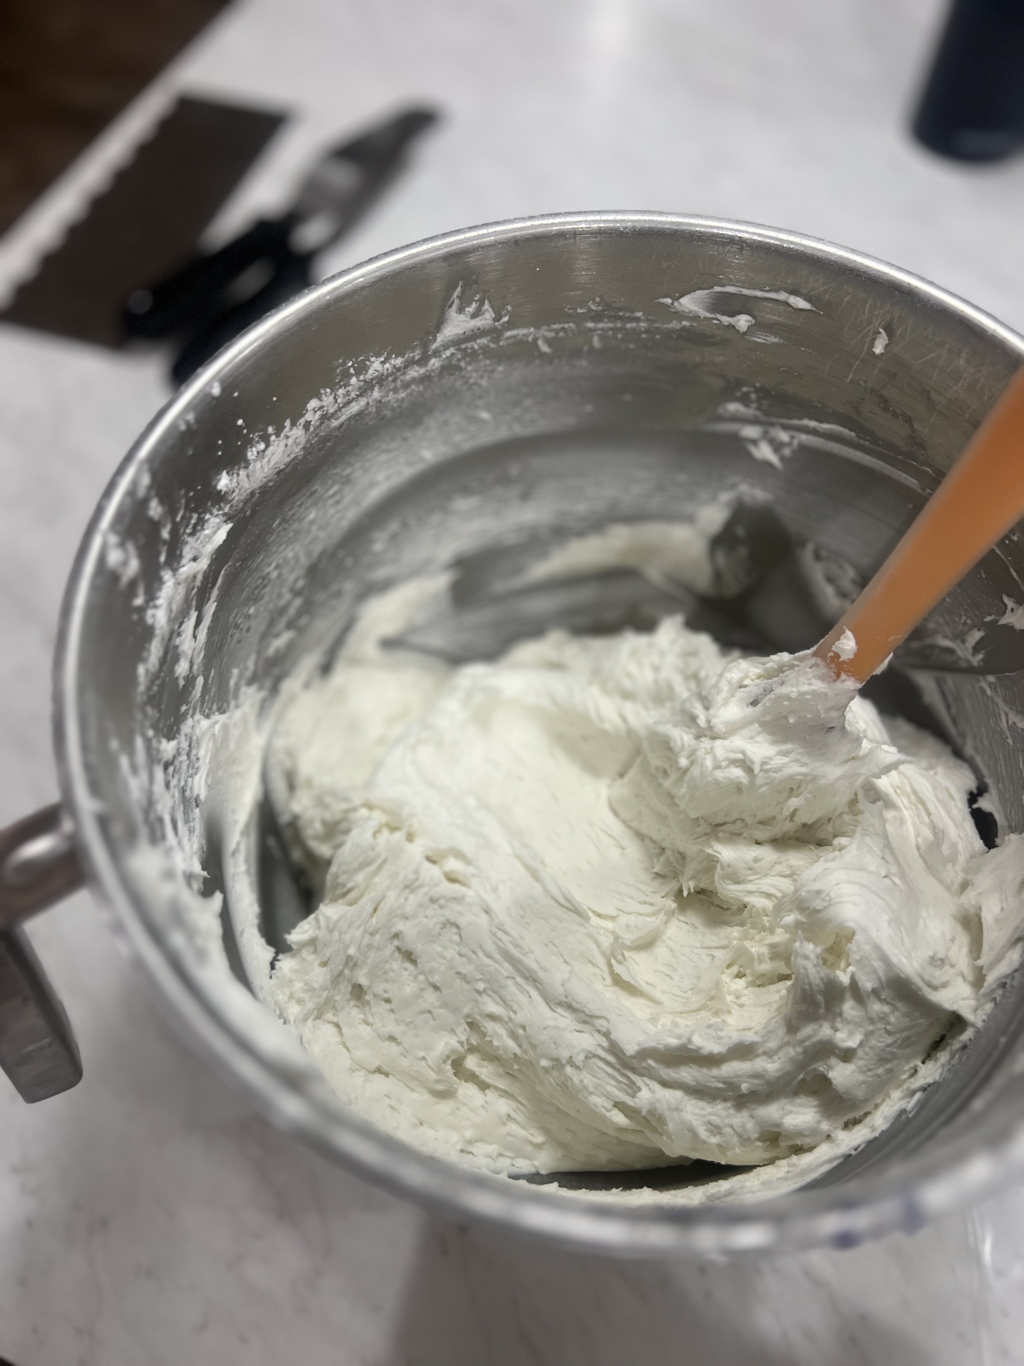
INGREDIENTS: 3 Cups Cake Flour (I used Lehi mills Cake flour) 1 1/2 tsp Baking Powder 1 tsp Salt 1 Cup Butter, room temperature 2 Cups Granulated Sugar 4 Eggs 2 Egg Whites 1/2 Cup Vegetable Oil 1 tbsp Lemon Extract 1/4 Lemon Juice 1/3 Cup Greek Vanilla yogurt or Sour Cream 1 Cup Milk TOOLS NEEDED: Electric Mixer or Large Bowls Whisk Oven Baking spray 3 Cake Pans (6” cake pans or 2 - 8” pans) BAKING INSTRUCTIONS:-Preheat your oven to 325 degrees F. -Prepare three 6” round cake pans OR two 8” pans with non-stick spray Spray again. Set aside. (I highly recommend the “Bakers Spray” or “PAM Baking Spray with flour”.) -In a medium sized mixing bowl, whisk together the cake flour, baking powder and salt. Set aside. -In the bowl of an electric mixer, fitted with the paddle attachment, cream the butter and the sugar for 3 to 5 minutes on medium-high speed. -The mixture should be light and fluffy. Scrape down the sides of the bowl and begin to add the eggs and egg whites on medium speed, scraping down the sides and bottom of the bowl between addition, continue beating on medium-high speed until the texture is smooth and the volume is nearly doubled, about 3 to 5 minutes. Add the Lemon extract and Lemon Juice, and mix until incorporated. -Add the the full Measurement of the vegetable oil. Mix well and incorporate. -Add in the Greek Vanilla yogurt OR sour cream. Mix well. -Slow the mixer down as much as possible, add then in 1/2 of the of flour mixture, -Add 1/2 of the milk. Let mix for 40-60 seconds. -Add in the final measurements of flour and milk. Let mix until fully incorporated. 2-3 minutes. The batter should be smooth. -Pour cake batter into each of the prepared three 6”cake pans. Or 2 8” pans. Level out all the batter in each pan. -Place in over to bake at 325°F for 32-36 minutes. -To check doneness, you can touch the top of the cake very lightly. If it stays firm and holds it shaped, almost bounces back, your cake is done. -You can also insert a toothpick into the center of the cake. If comes out with a few moist crumbs on it. Let cool in the pans for about 15-20 minutes and then remove from cake plans and place cake on cake board. -Place cake layers in the freezer for 4-6 hours. -After cold and solid, it’s time to decorate! SWEET LEMON BUTTERCREAM INGREDIENTS: 2 Cups Soft Room Temperature, UnSalted Butter 7-8 Cups Powdered Sugar 1 1/2 tsp Lemon Extract 1 tsp Lemon Juice Lemon Zest (optional) 1/2-1 C Heavy Cream Yellow Food Color (optional) INSTRUCTIONS:
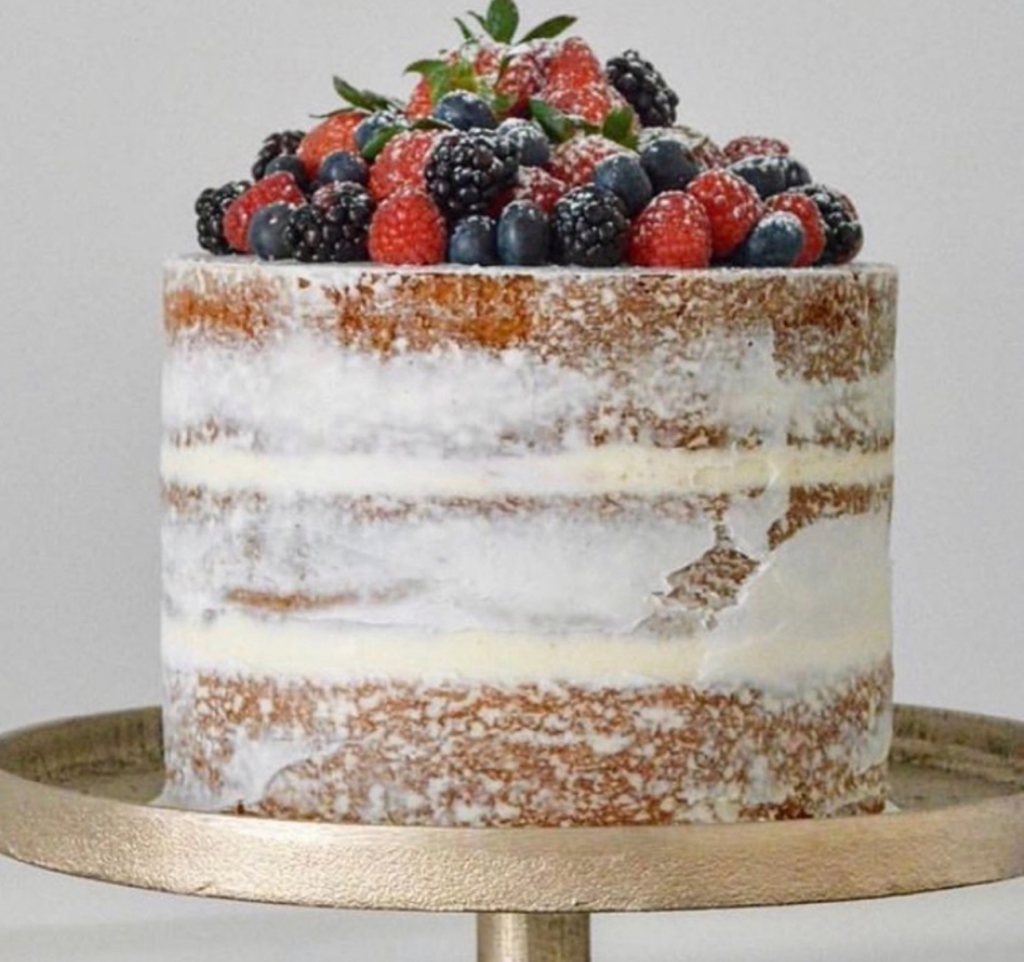
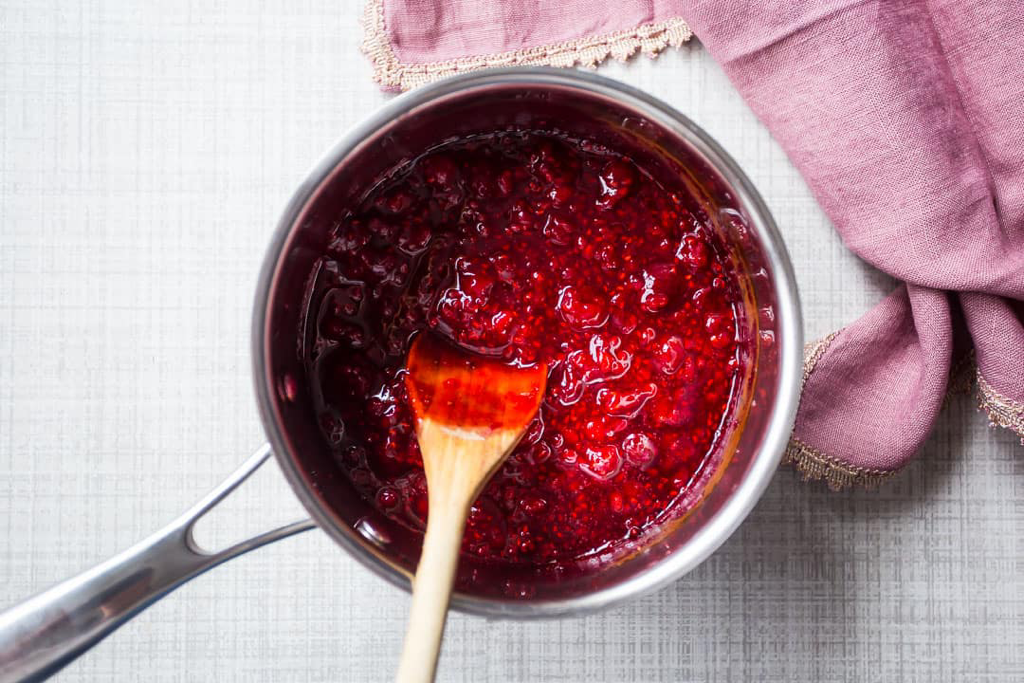
RASPBERRY PUREÉINGREDIENTS:
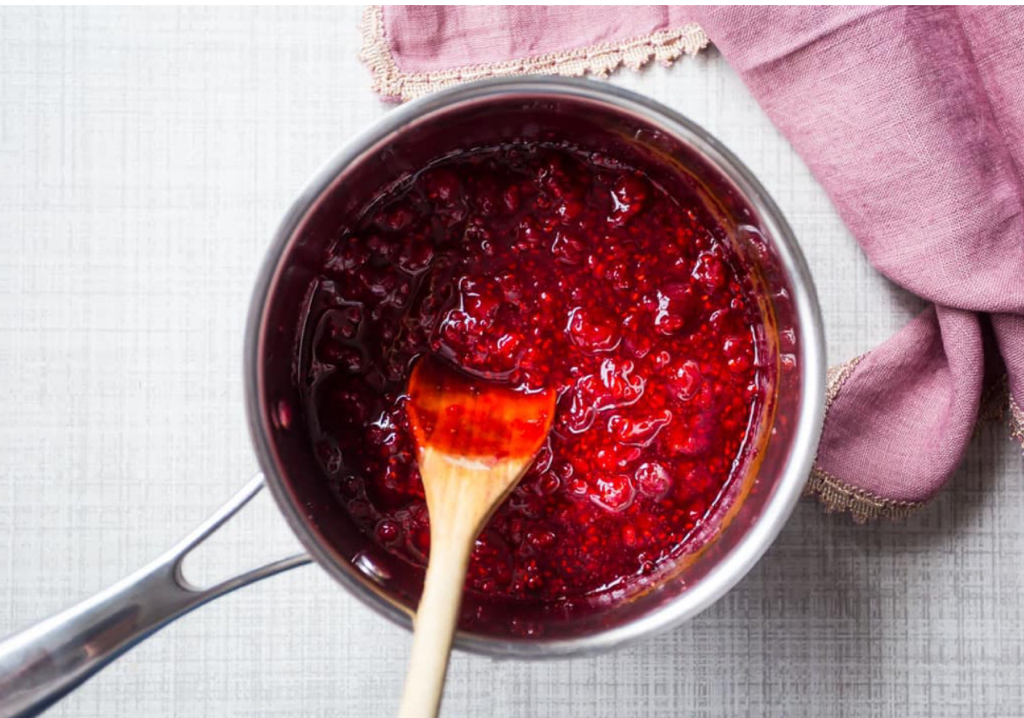
10 ounces (300 grams) Raspberries 2 Tbsp Granulated Sugar 1 tsp EZ Gel (thickening agent) 1/2 tsp Lemon Juice INSTRUCTIONS: -In a sauce pan, over medium/high heat, heat the raspberries, sugar and lemon juice until it starts to bubble, and break down. Stir frequently. -Pour mixture into blender or food processor and pulse a few times. Mixture should be somewhat smooth. -If too thick, add splashes of water until you get your desired consistency. -Refrigerate for a few hours until it thickens up more, and becomes more stable. NOTES: -You can use this as a filling for Cakes and other desserts/pastries. You can also add to frostings to create a delicious and fresh tasting buttercream, -Use this recipe and different berries to create other flavor variations, such as strawberries, blackberries and/or blueberries.
6 Comments
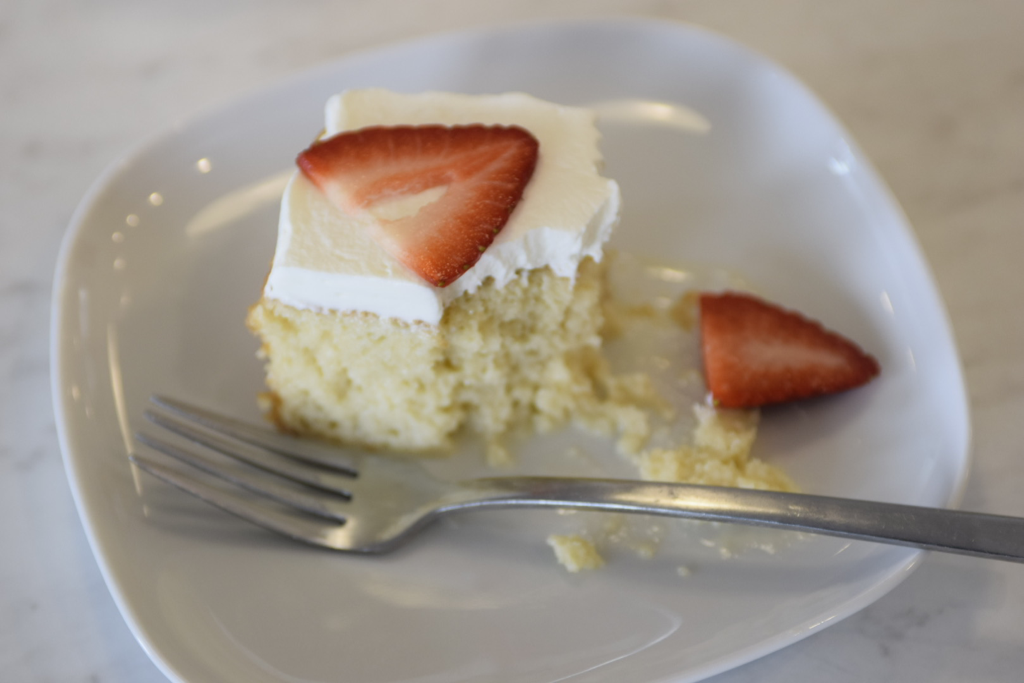
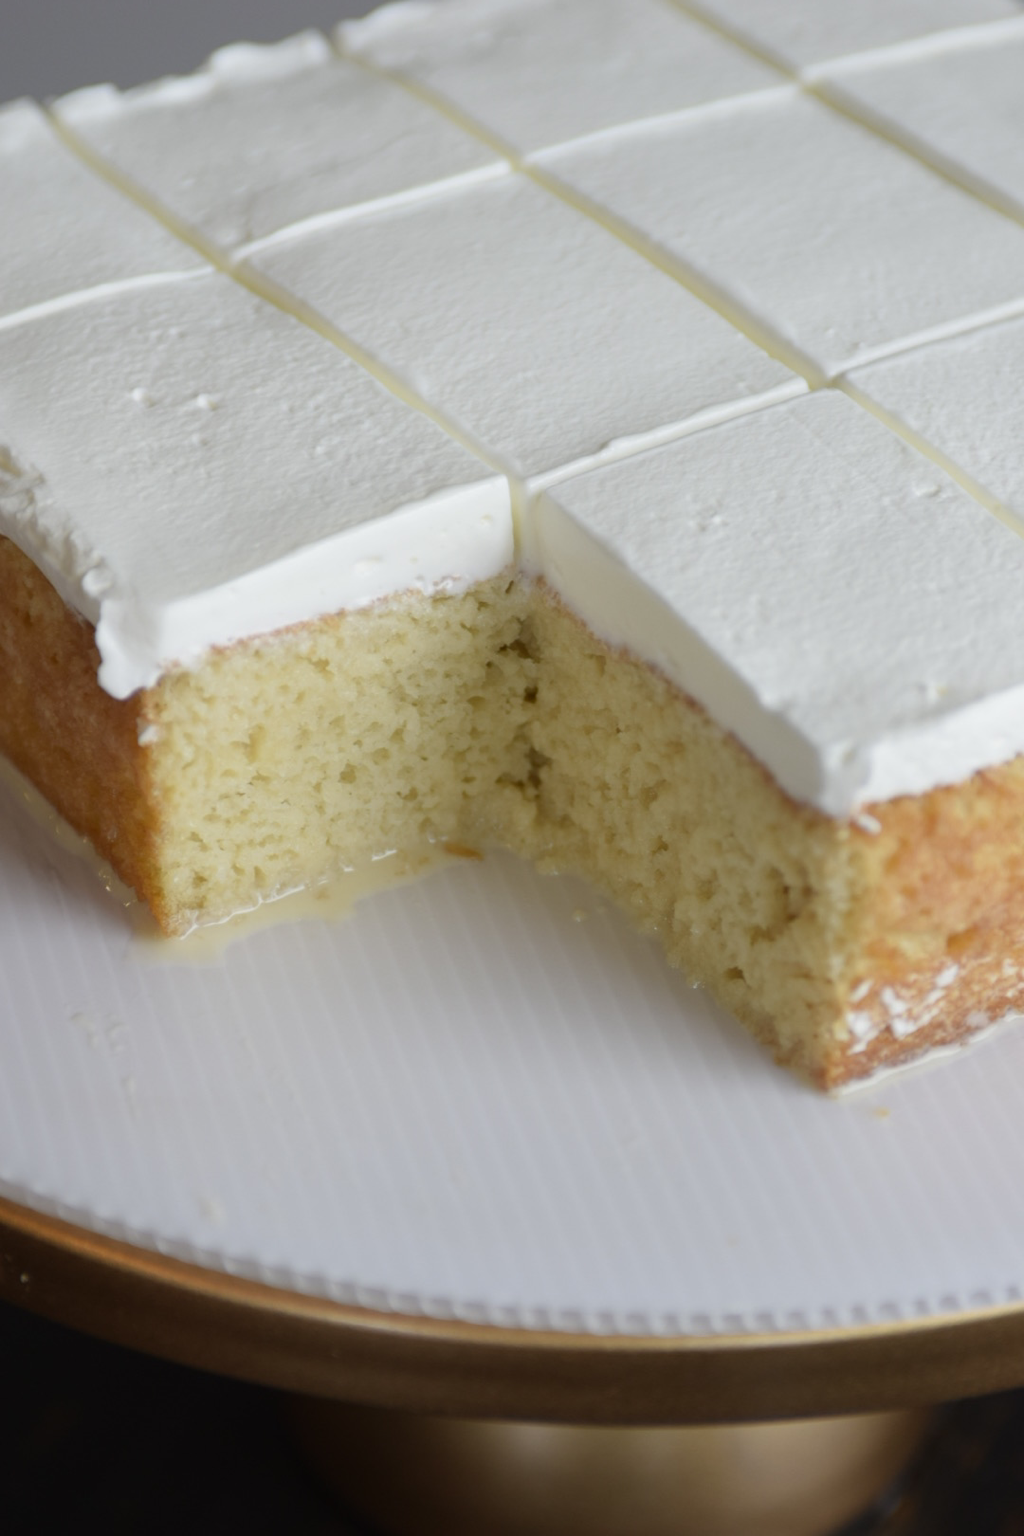
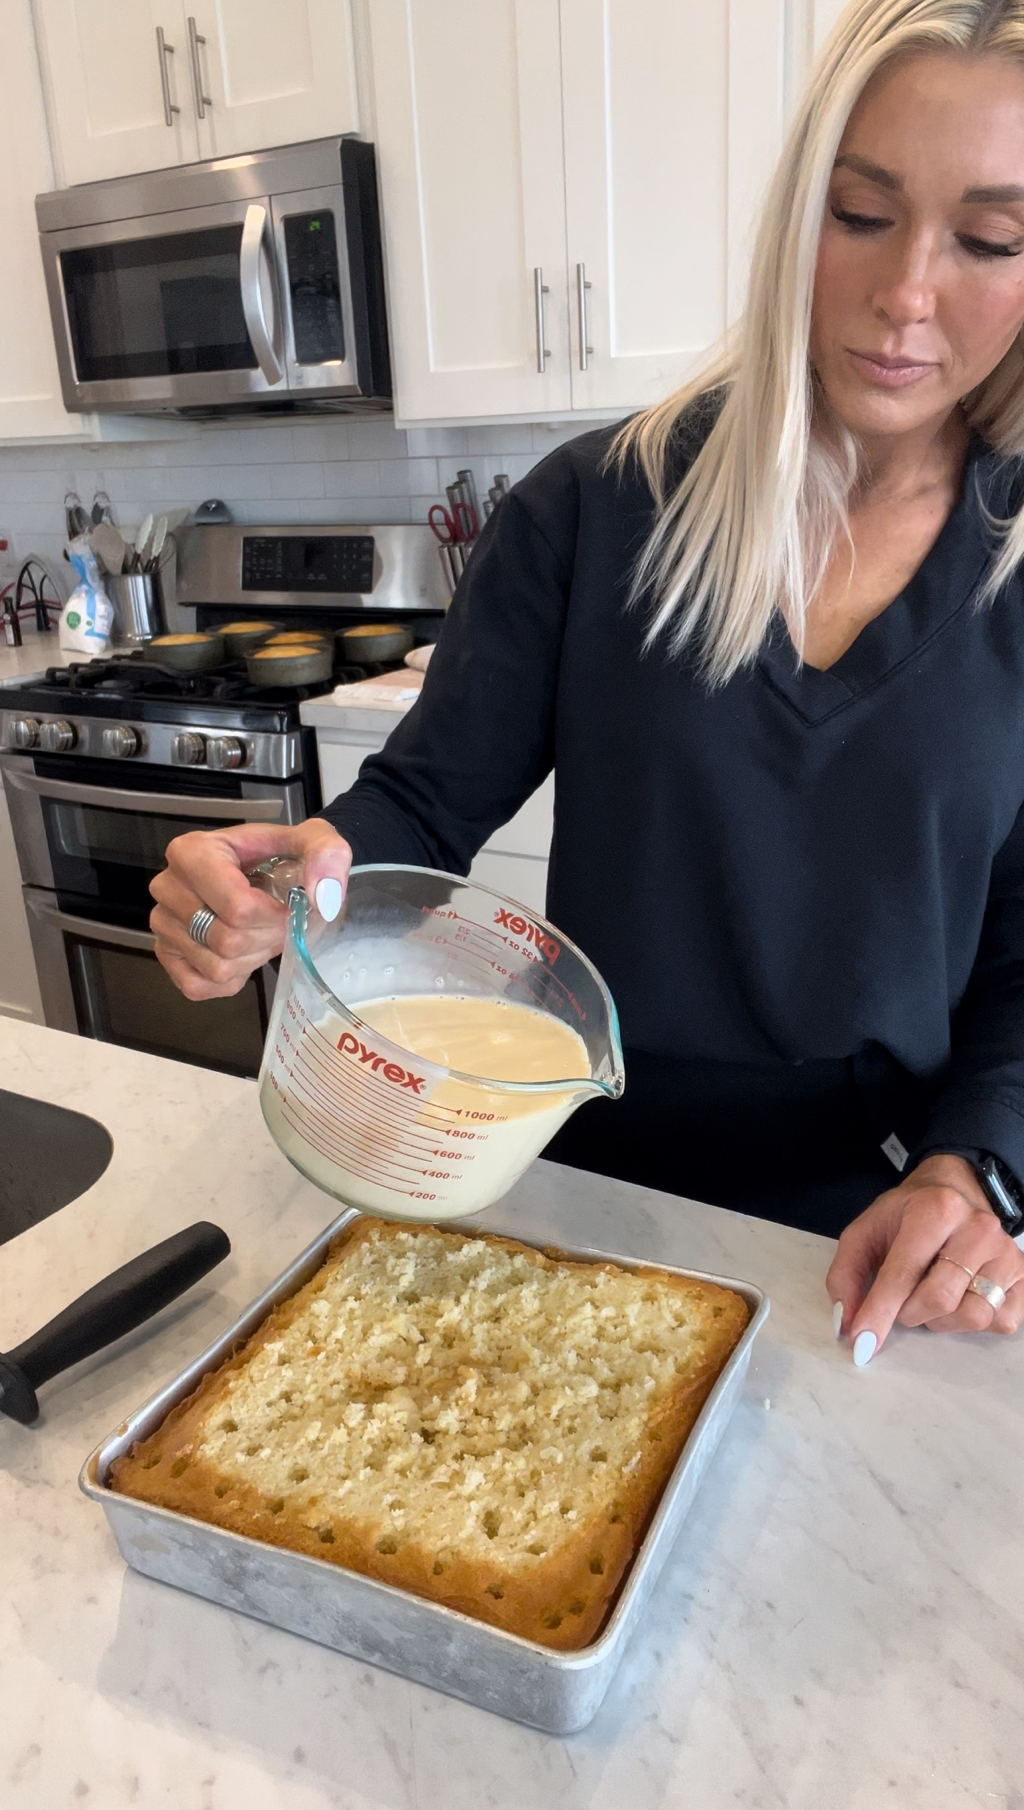
Vanilla Cake Recipe INGREDIENTS: 3 Cups Cake Flour (I used Lehi mills Cake flour) 1 1/2 tsp Baking Powder 1 tsp Salt 1 Cup Butter, room temperature 2 Cups Granulated Sugar 4 Eggs 2 Egg Whites 1/2 Cup Vegetable Oil 1 tbsp Vanilla extract 1/3 Cup Greek Vanilla yogurt or Sour Cream 1 Cup Milk TOOLS NEEDED: Electric Mixer or Large Bowls Whisk Oven Baking spray Cake Pans (6” cake pans or 2 - 8” pans) Instructions: -Preheat your oven to 325 degrees F. -Prepare cake pan with non-stick spray Spray again. Set aside. (I highly recommend the “Bakers Spray” or “PAM Baking Spray with flour”.) -In a medium sized mixing bowl, whisk together the cake flour, baking powder and salt. Set aside. -In the bowl of an electric mixer, fitted with the paddle attachment, cream the butter and the sugar for 3 to 5 minutes on medium-high speed. -The mixture should be light and fluffy. Scrape down the sides of the bowl and begin to add the eggs and egg whites on medium speed, scraping down the sides and bottom of the bowl between addition, continue beating on medium-high speed until the texture is smooth and the volume is nearly doubled, about 3 to 5 minutes.Add the vanilla extract and mix until incorporated. -Add the the full Measurement of the vegetable oil. Mix well and incorporate. -Add in the Greek Vanilla yogurt OR sour cream. Mix well. -Slow the mixer down as much as possible, add then in 1/2 of the of flour mixture, -Add 1/2 of the milk. Let mix for 40-60 seconds. -Add in the final measurements of flour and milk. Let mix until fully incorporated. 2-3 minutes. The batter should be smooth. -Pour cake batter into each of the prepared three 6”cake pans. Or 2 8” pans. Level out all the batter in each pan. -Place in over to bake at 325°F for 32-36 minutes. -To check doneness, you can touch the top of the cake very lightly. If it stays firm and holds it shaped, almost bounces back, your cake is done. -You can also insert a toothpick into the center of the cake. If comes out with a few moist crumbs on it. Let cool in the pans for about 15-20 minutes and then remove from cake pans and place cake on cake board. -Put cake in the fridge or freezer for 30 minutes to set up -Take out of the freezer, and poke holes throughout the cake. -Pour the Trés Leches milk mixture over the cake, and allow the milks to soak the cake well. -Top with whipped cream and your favorite toppings Enjoy!!! Trés Leches Milk:INGREDIENTS: 1 (14 oz) Can of Sweetened Condensed Milk 1/2 (7 oz) Can of Evaporated Milk 1/2 (7 oz) Cold 2% Milk INSTRUCTIONS: -Pour all three types of milk together and mix. Homemade Whipped CreamINGREDIENTS:
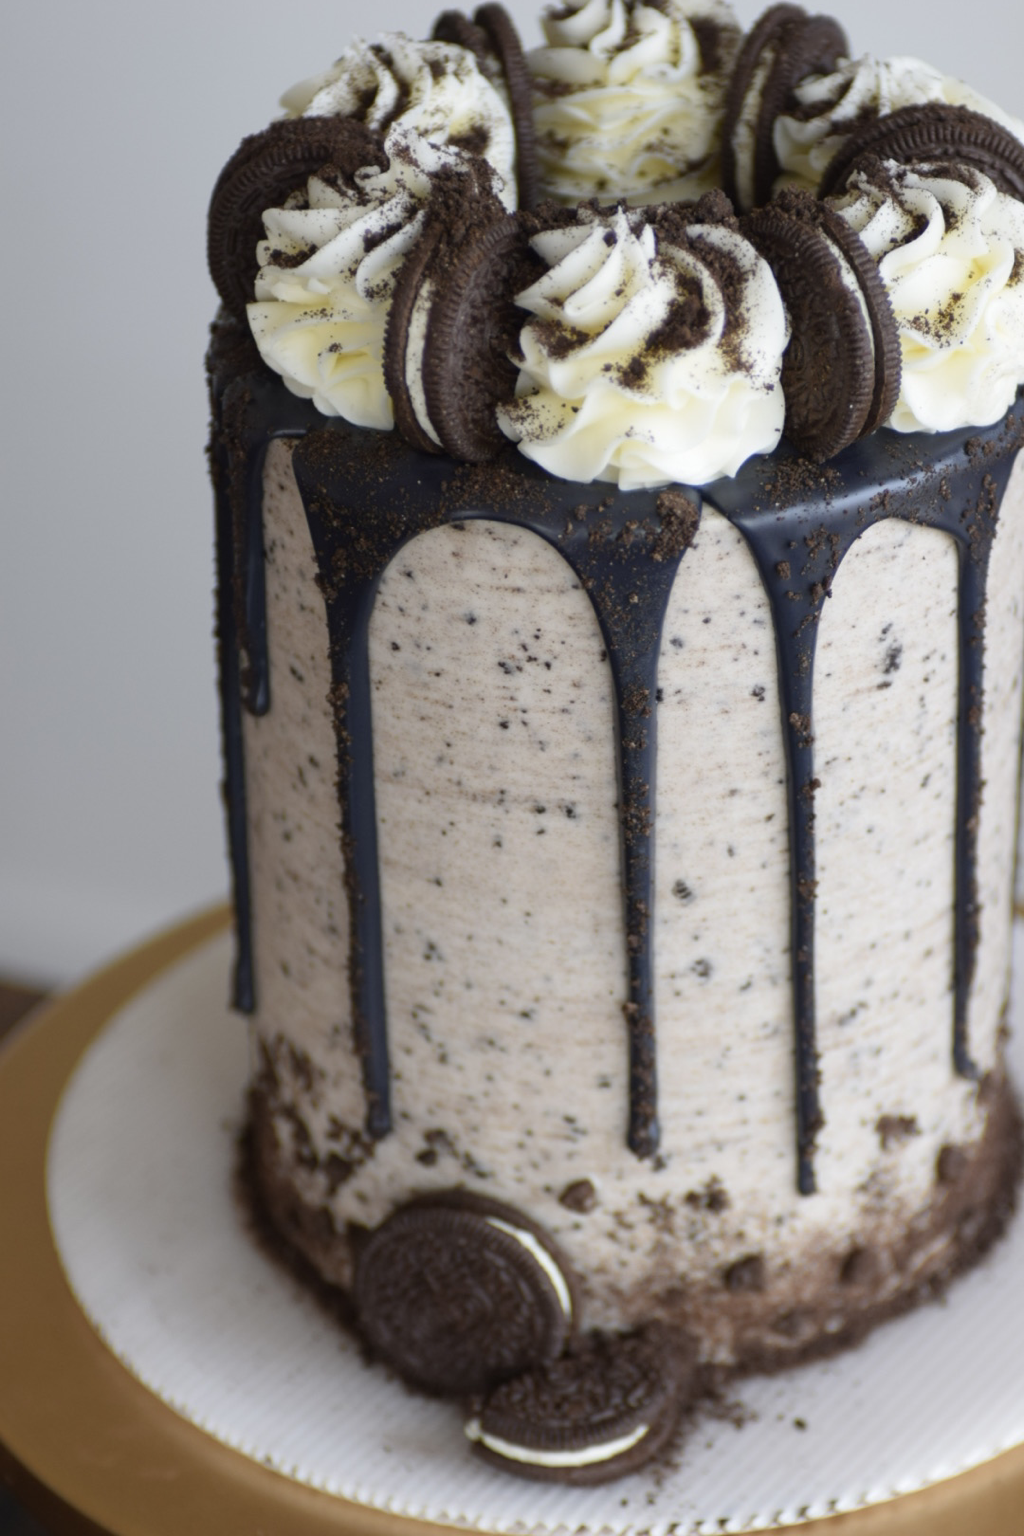
1 Cup cold heavy whipping cream 1/2 Cup powdered sugar 1 teaspoon pure vanilla extract INSTRUCTIONS: Whip heavy cream, sugar, and vanilla extract on medium-high speed in mixer with whisk attachment until medium peaks form, about 3-4 minutes. Medium peaks are between soft/loose peaks and stiff peaks and are the perfect consistency. If you over-mix your whipped cream will become lumpy and fall apart. So watch it closely while it is mixing. Chocolate Oreo Cake RecipeINGREDIENTS: 2 1/2 cups All Purpose Flour 2 1/2 teaspoons of Baking Powder 1/2 teaspoon of Baking Soda 1 cup Black Cocoa Powder (I love Cocoa Trader) 1 cup Crushed Oreo Cookies 1 teaspoon Salt 1/2 cup Vegetable oil 2 cups Granulated Sugar 3 large Eggs 2 teaspoons Vanilla extract 1 1/2 Cup Milk 1 1/2 Cup Hot Water 1/2 cup of Semisweet Chocolate Chips INSTRUCTIONS:
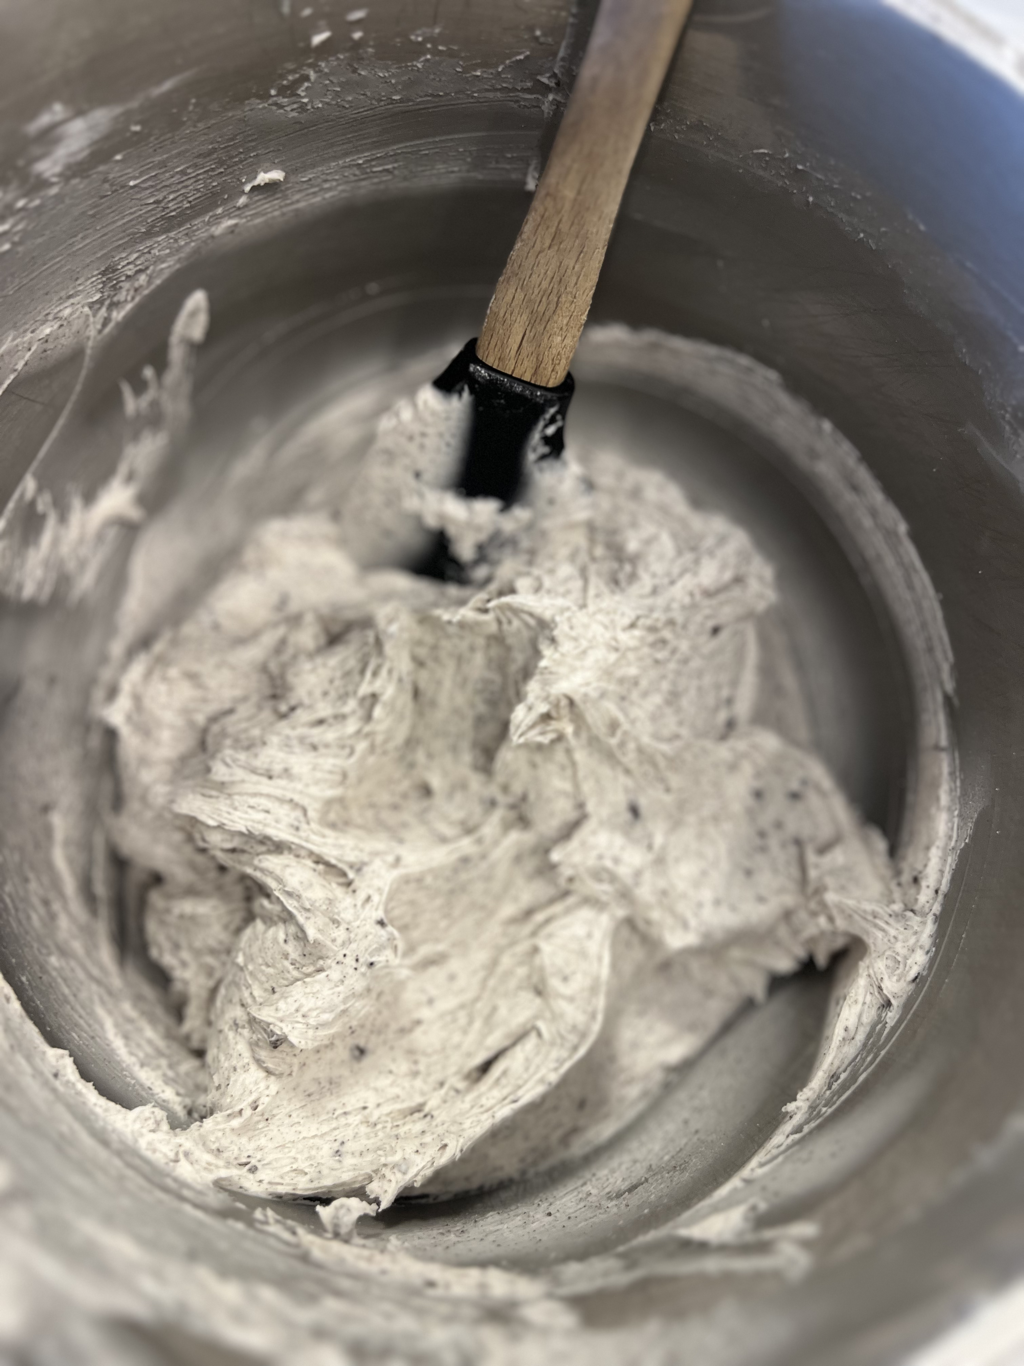
Oreo ButtercreamINGREDIENTS: 2 Cups Unsalted Butter. Room Temperature 7-8 Cups Powdered Sugar 1/2 tsp CLEAR Vanilla Extract 1/2-1 Cup Heavy Cream 1 C Oreo Super Finely Crushed Cookie Crumbs INSTRUCTIONS:
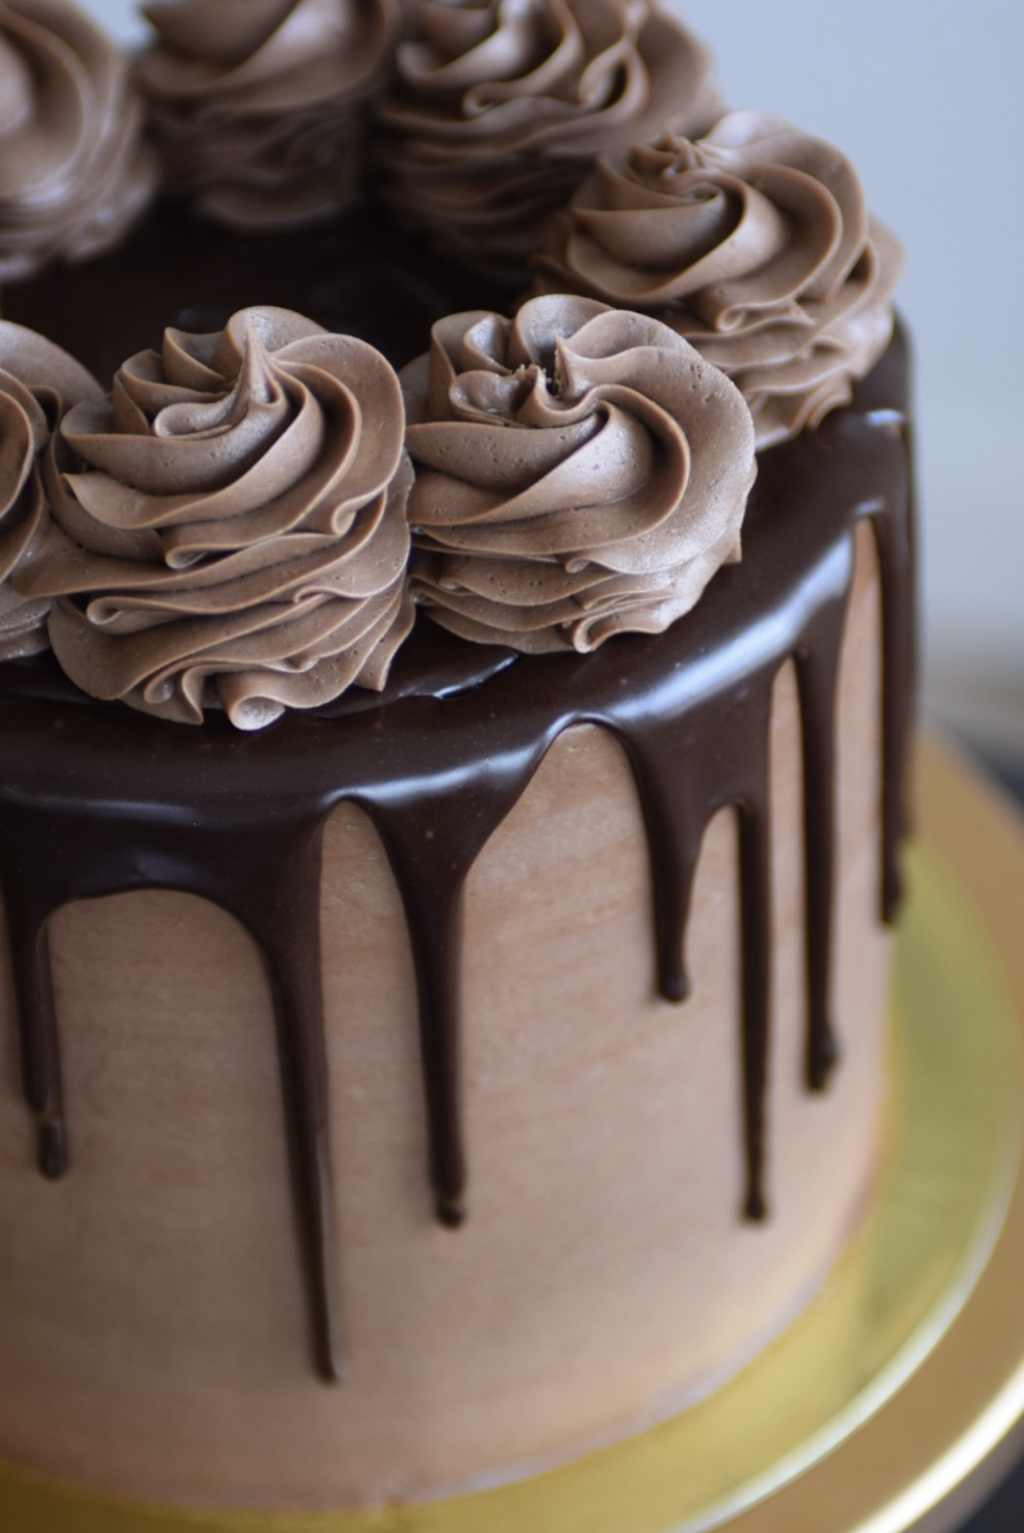
Chocolate GanacheIngredients: 1 Cup Heavy Cream 1.5 Cups Semi Sweet Chocolate 1 Tsp Vanilla extract Instructions:
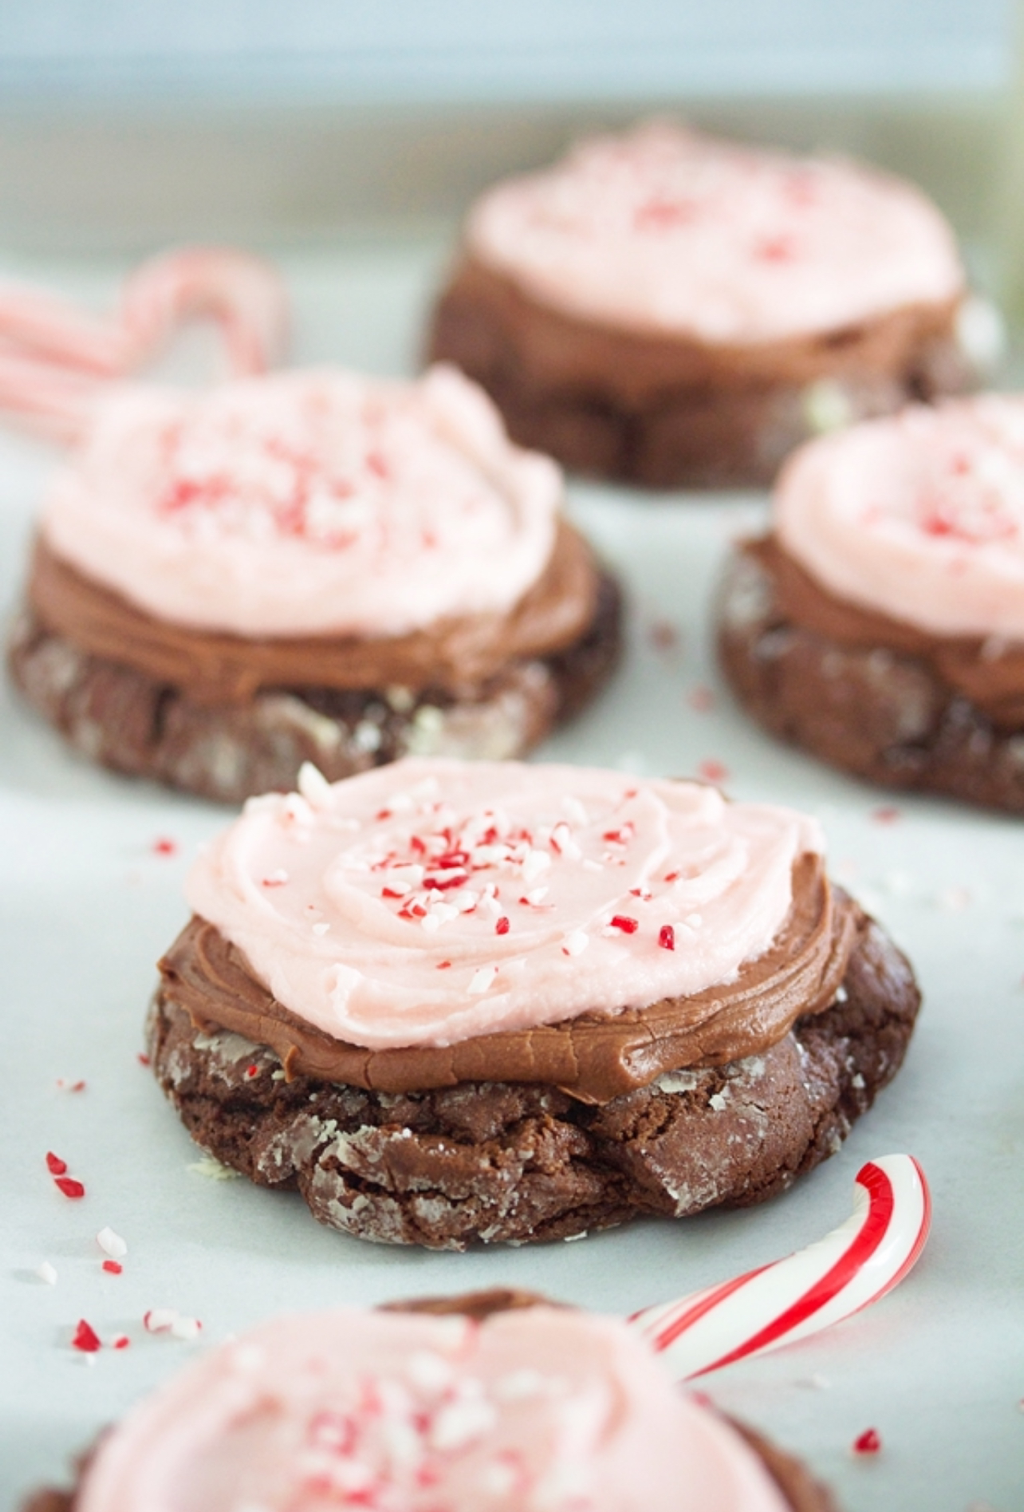
1. Boil the Heavy Cream in a small sauce pan 2. Once boiling, remove from heat. 3. Add Chocolate Chips to the boiling heavy cream. Let sit for 2-3 minutes. 5. Mix until fully incorporated. (Should take 3-5 minutes of stirring). It’s that time of year when my oven is working overtime, baking all the yummy treats for the holidays. And these cookies are always on the list. I am a chocolate lover, and so Crinkle Cookies have always been one of my favorites. To make these cookies even more delicious, I add my delicious Semi Sweet Chocolate Ganache, and Candy Cane buttercream frosting. Once I have frosted the cookies, I sprinkle them with crushed candy canes. Ingredients:
ROLLING 3 Tablespoons (35g) granulated sugar 1 cup (120g) confectioners’ sugar, for rolling Instructions:
Candy Cane ButtercreamIngredients:2 Cups Unsalted Butter. Room Temperature 7-8 Cups Powdered Sugar 1/2 tsp CLEAR Vanilla Extract 1 tsp Peppermint Extract 1/2-1 Cup Heavy Cream 1/3 Cup Crushed Candy Canes (Optional) 2-3 drops of Pink Food Coloring Instructions:
Chocolate Ganache |
Hi, Im Whitney BergeAka, The Blonde who Bakes, Archives
March 2024
Categories |
 RSS Feed